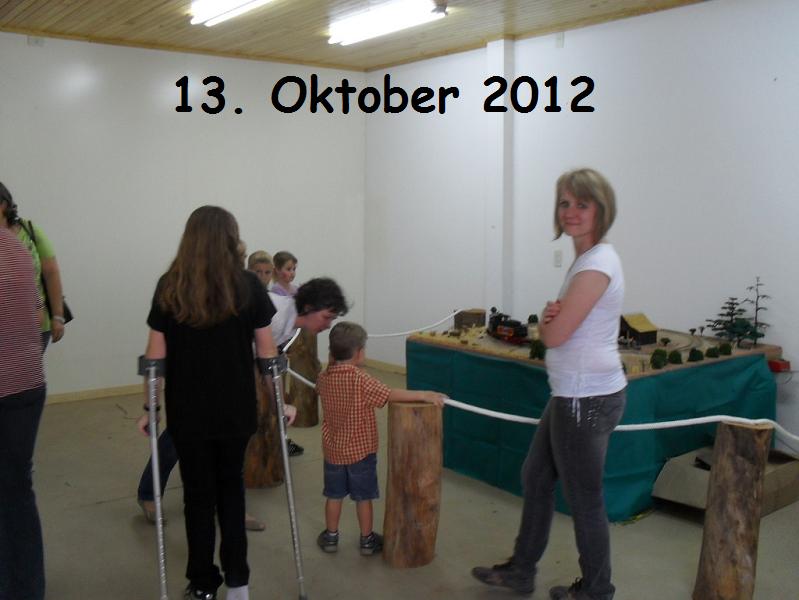
well, me and my bragging... i promised to prepare a small layout for the local hobby-exhibition in mid october. (this year, i fear = 2012)
so i have to do something. it has to be transported, and it has to be expanionable for years to come. so a modular layout.
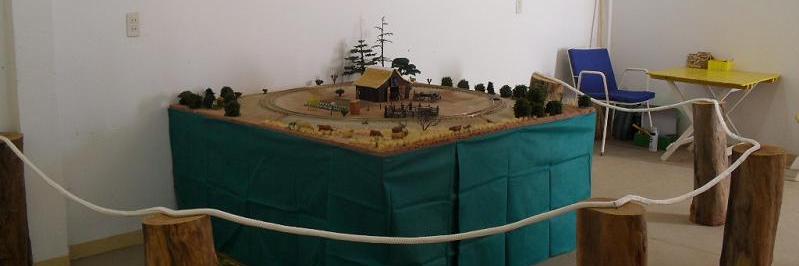
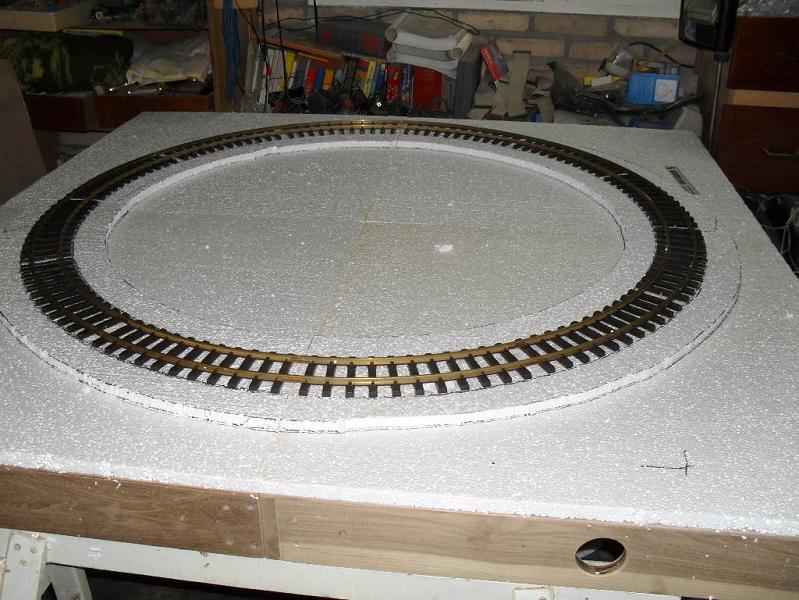
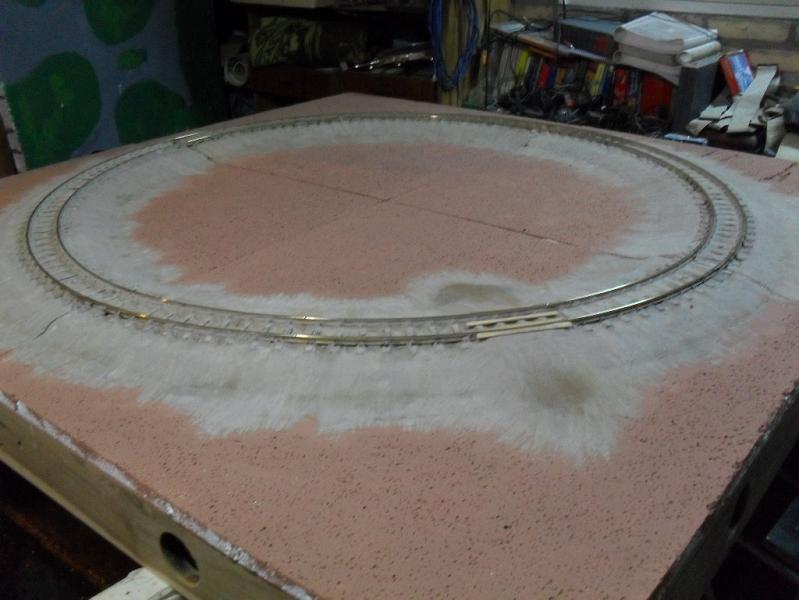
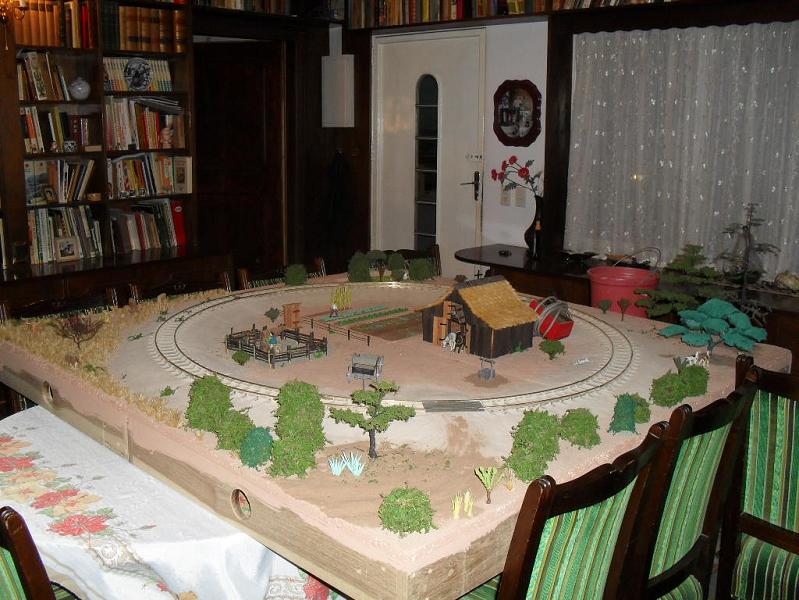
i choosed 80 by 80 cm (80 cm = 2' 8") with four modules just enough for a R1 circle.
(in the future it may become an oval by additional moduls)
the general idea is to model the local fauna and flora.
(not just because it is easier to build a landscape flat as a pancake!)
maybe in the future it will evolve into a more or less correct model of a former narrowgauge line we had in our area.
i think, i will put up the pics of my missdeeds, as they come.
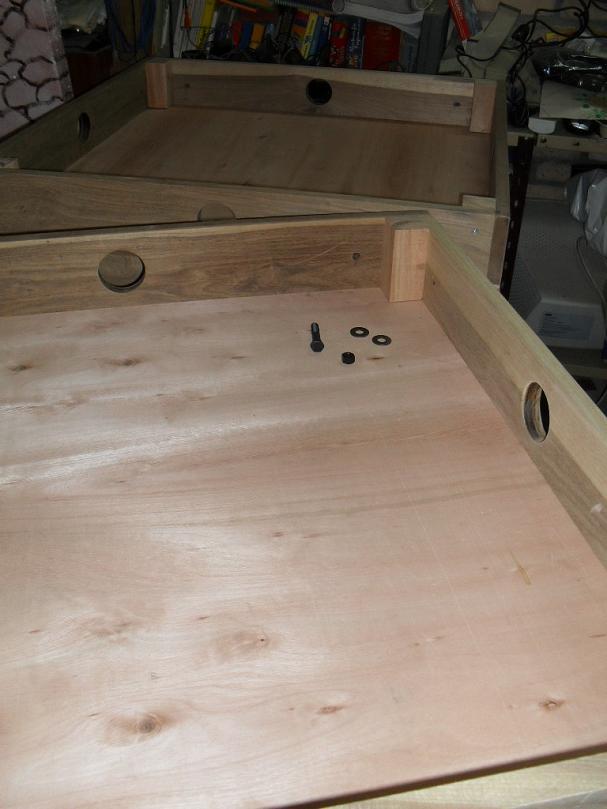
because i am lazy and i got wifey's permission (if it's for the community and there is so little time...) i had the local carpenter make me the four modules. (here seen upside down.
XXXXXXXXXXXXXXXtextXXXXXXXXXXXXXXXXX
i glued some styrofoam plates on the moduls (makes grassplanting easier)
textXXXXXXXXXXXXXXXXX
the roadbed is from styropor as well.
textXXXXXXXXXXXXXXXXX
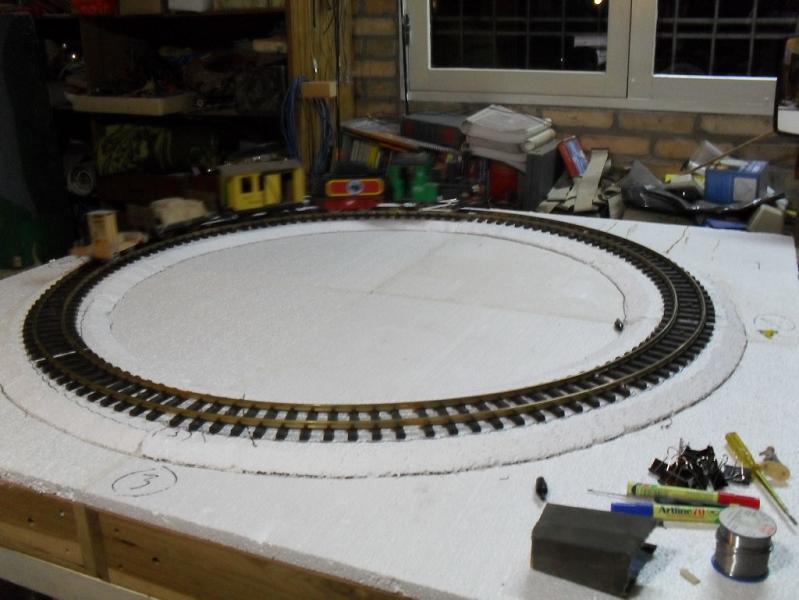
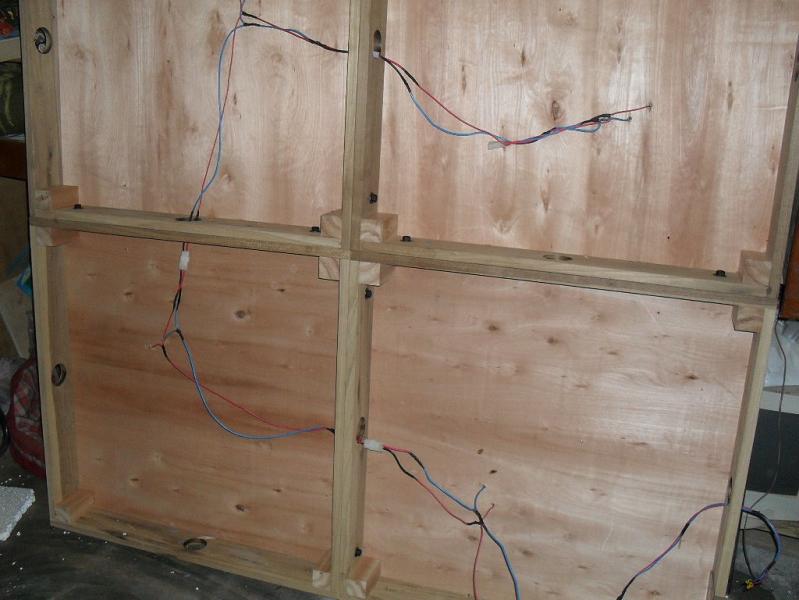
after screwing down the track i wired everything. one connection per modul, cables connected between modules with plugs.
(it wouldn't be me, if i hadn't mixed up wires and plugs - so, when i went for a test run, i had to re solder one connection to get rid of the short-out)
textXXXXXXXXXXXXXXXXX
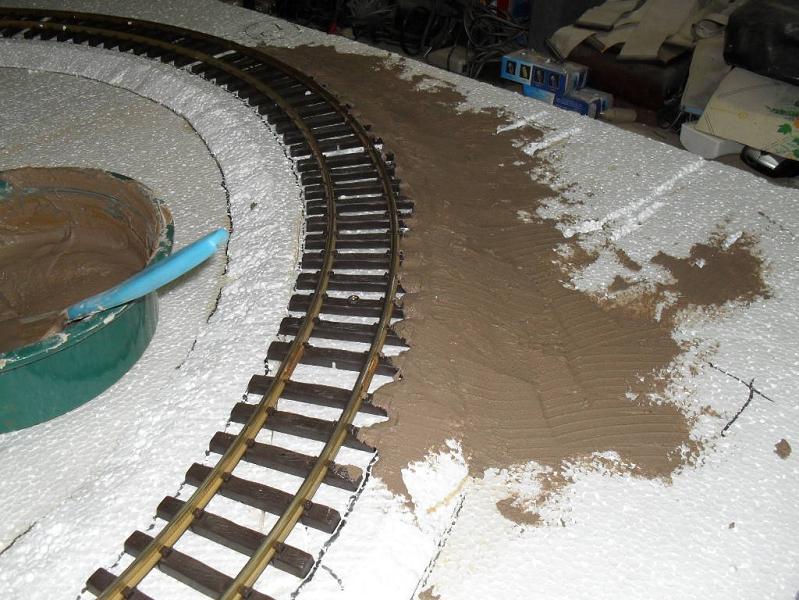
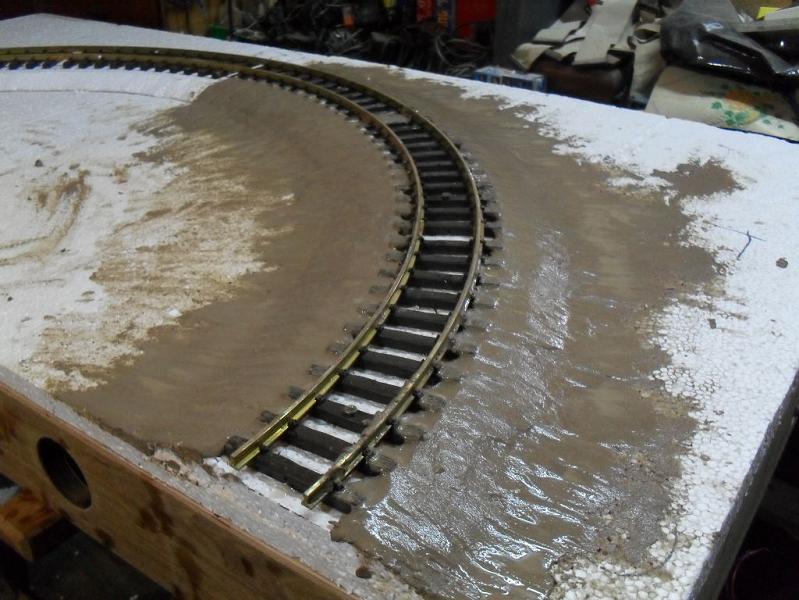
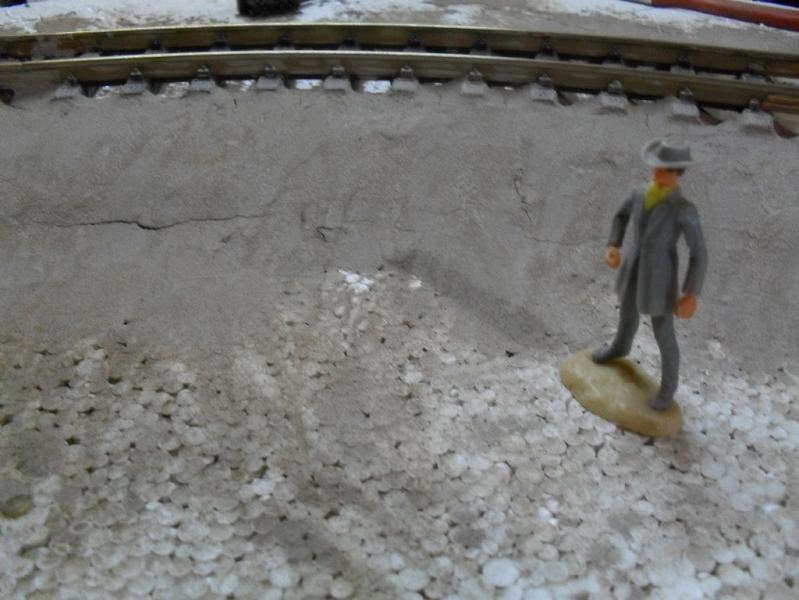
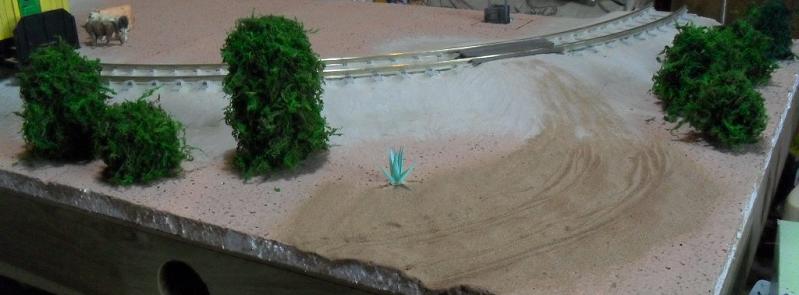
the messy part: a mixture of clayish sand, crackfiller and some squirts of toner for wallcolor for forming the earthen roadbed they used here.
i decided not to use just white filler, because there evolve always spots, where the landscape cracks. and white cracks are worse to repair, than earthcolored ones.
textXXXXXXXXXXXXXXXXX
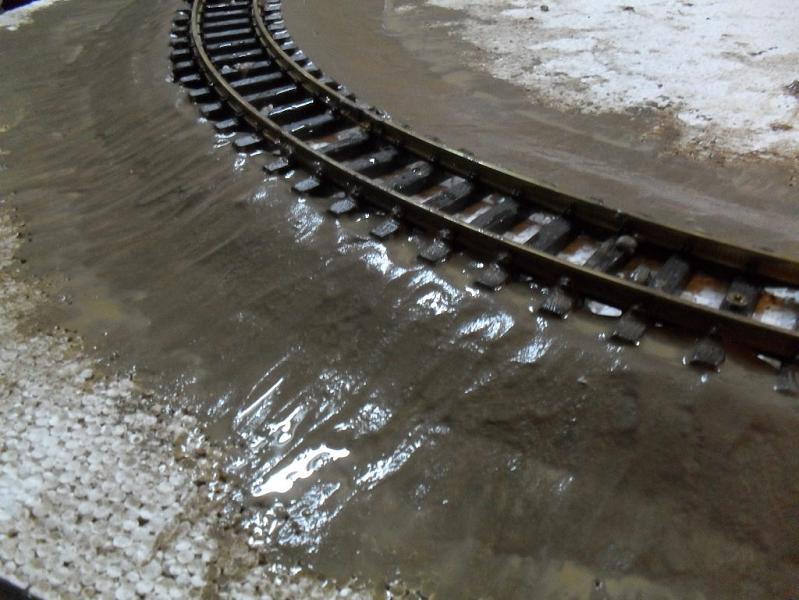
trying to get the slightly washed out form by stroking the mixture with wet fingers.
textXXXXXXXXXXXXXXXXX
being cautious, and to get a feeling for the material i started out with the two moduls, that will be at the back.
textXXXXXXXXXXXXXXXXX
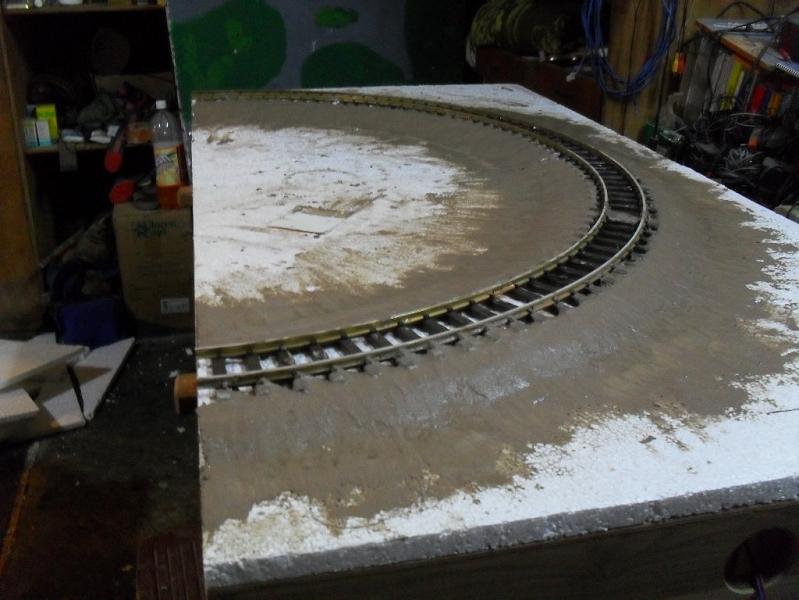
well, now i will wait, to see if i can go on in this way, or if i have to tear it up again.
(and i can't even fill between the rails today, because i ran out of crackfiller)
--------------------------
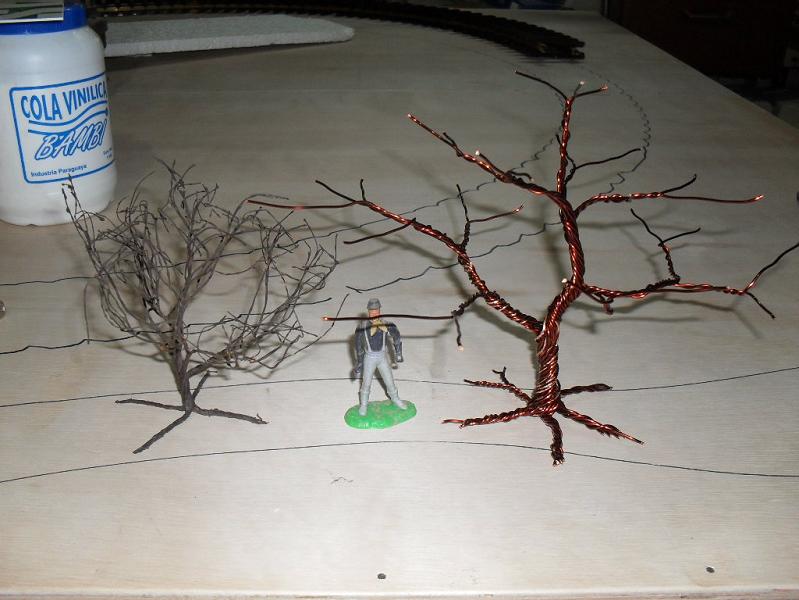
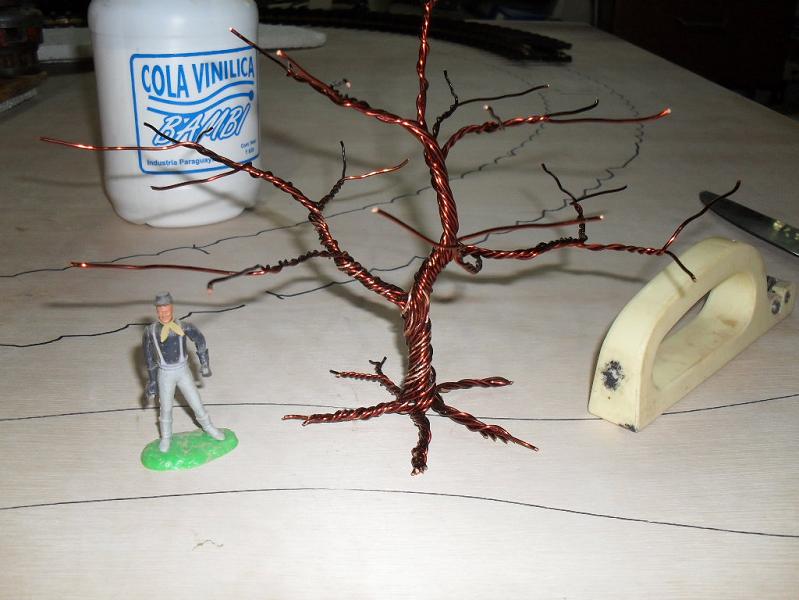
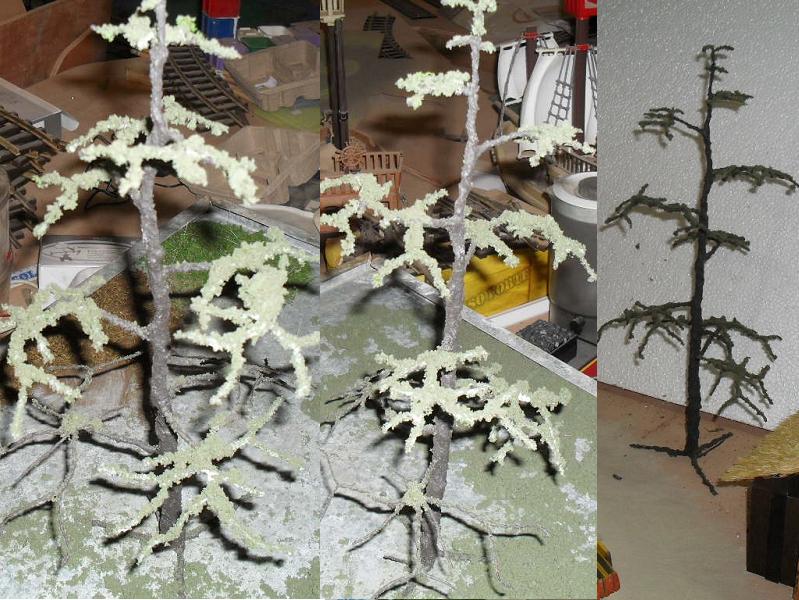
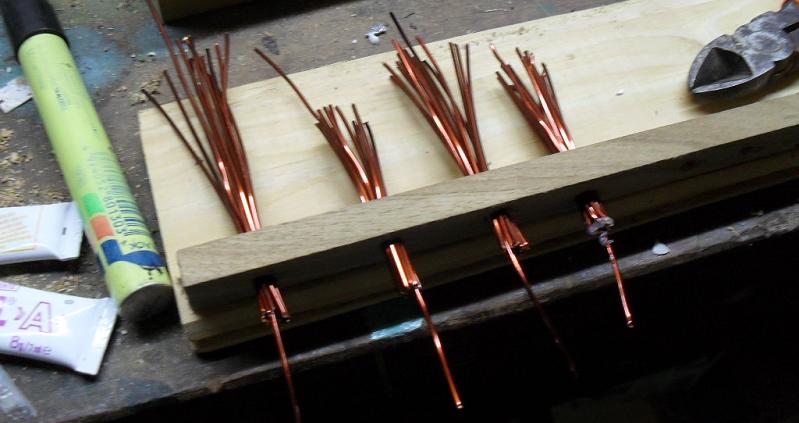
to get the trees more or less like the local flora, i decided to make them from copperwire. the bush on the left is a remnant from a former layout. but as the very fine copperwire i used then is bending too easy, i decided to try thicker wire.
textXXXXXXXXXXXXXXXXX
as is clearly seen, that gives me another problem. not enough twigs, to glue the green upon.
the solution - splicing additional twigs into the branches:
textXXXXXXXXXXXXXXXXX
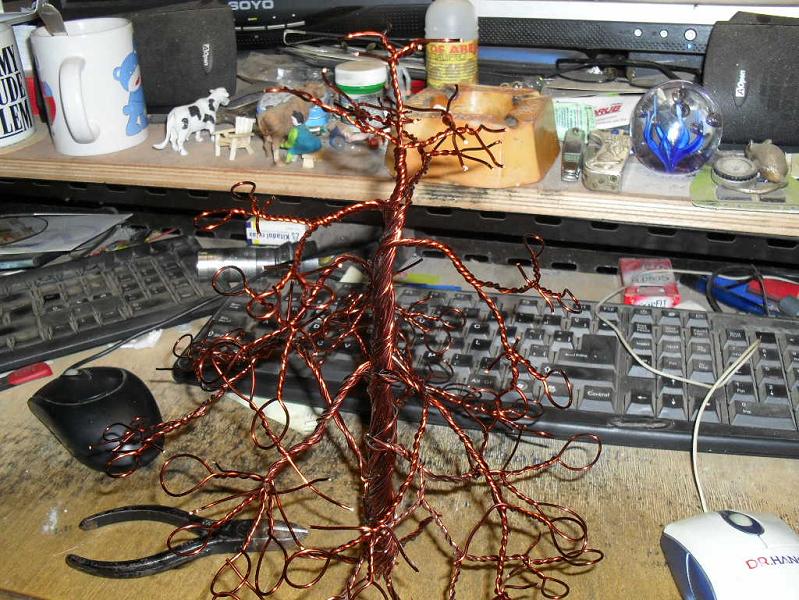
i think, i have to get yet another copperwire. thinner, than the thick one, and thicker than the one i used before. will be continued...
doing, what i like less. bending trees.
textXXXXXXXXXXXXXXXXX
trees are mostly bent.
textXXXXXXXXXXXXXXXXX
OUCH! today i learned not to wash my hands with thinner... must be strong stuff, what they're selling us.
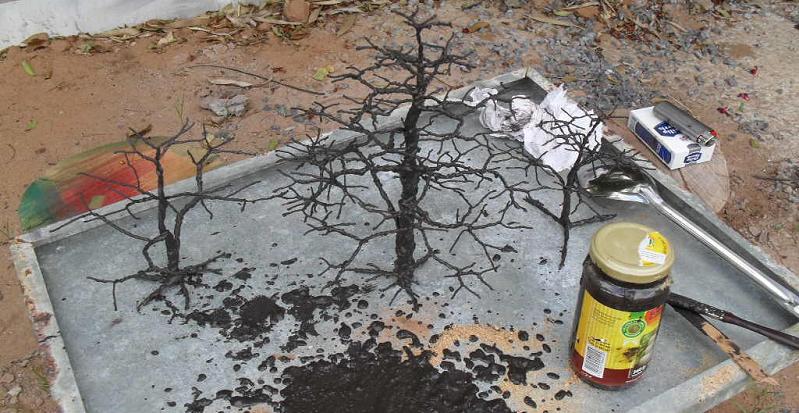
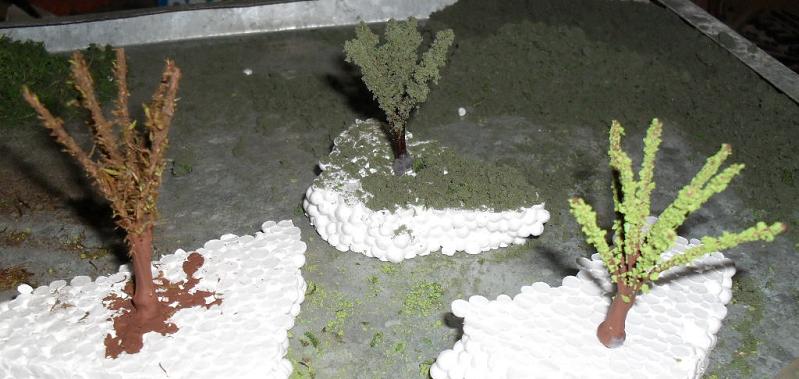
well, some of the trees got their first coat of bark. i used 2 parts dark brown oilpaint, two parts of coarse sand and one part of sawdust.
textXXXXXXXXXXXXXXXXX
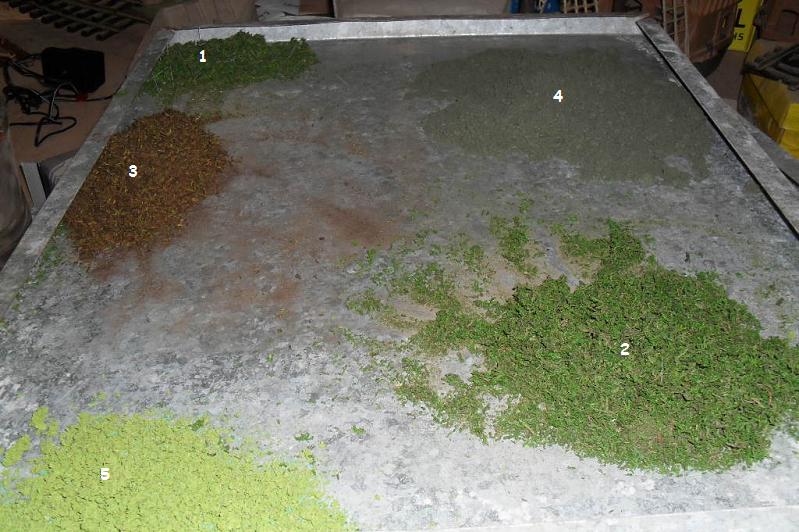
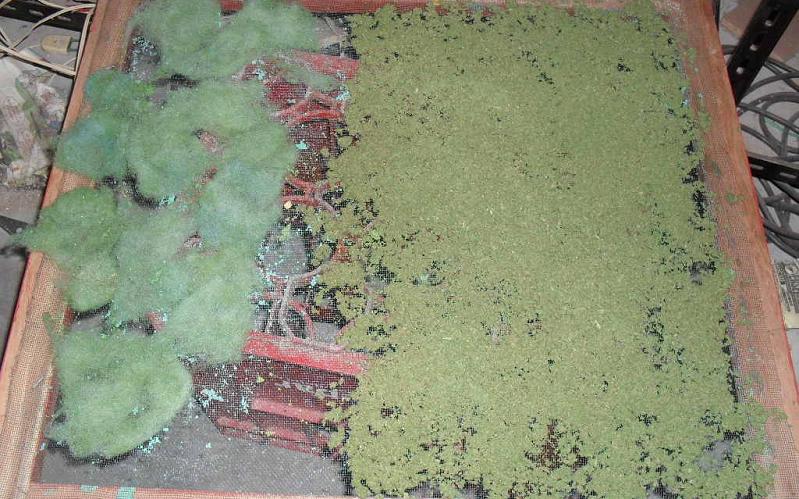
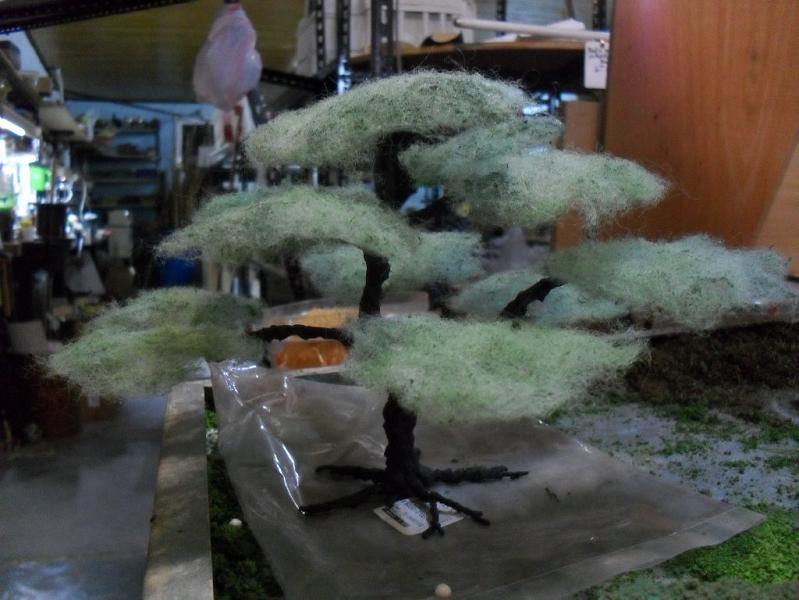
some more foilage for trees and bushes.
textXXXXXXXXXXXXXXXXX
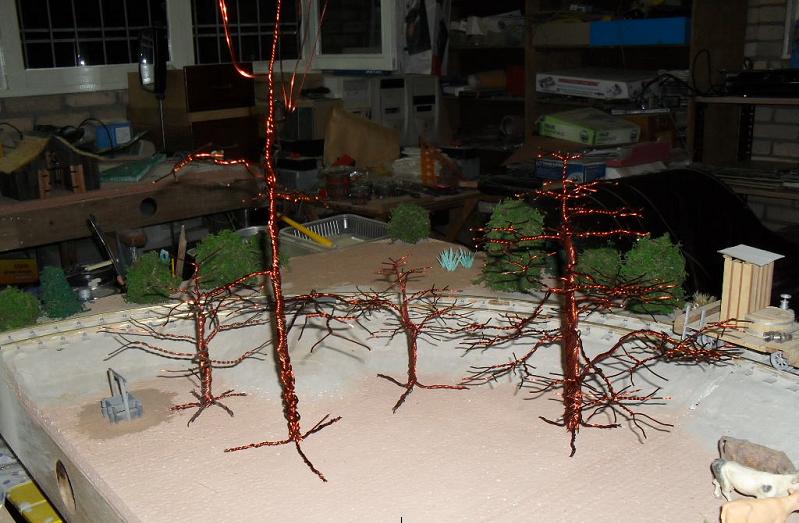
and after a not so satisfying tree:
textXXXXXXXXXXXXXXXXX
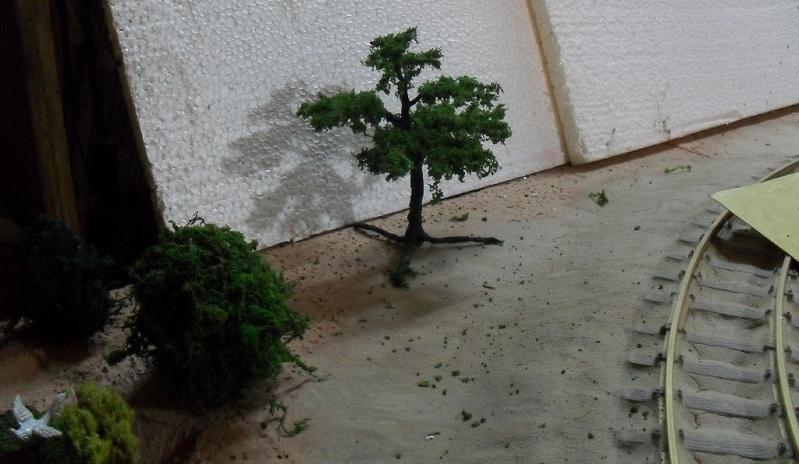
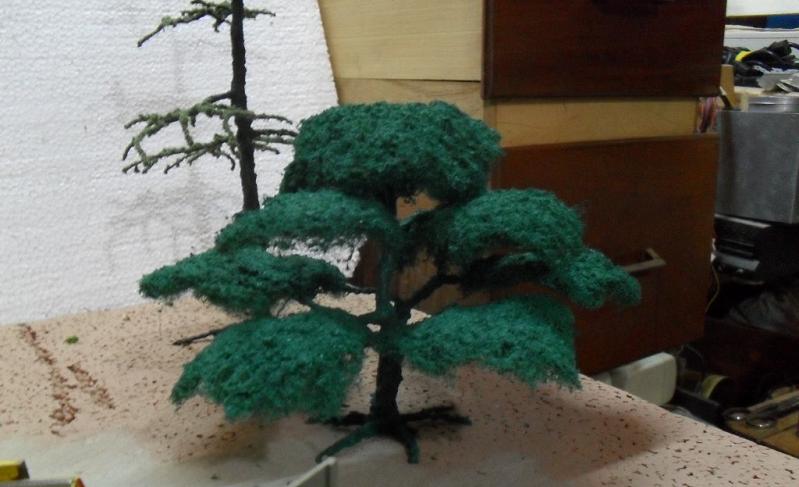
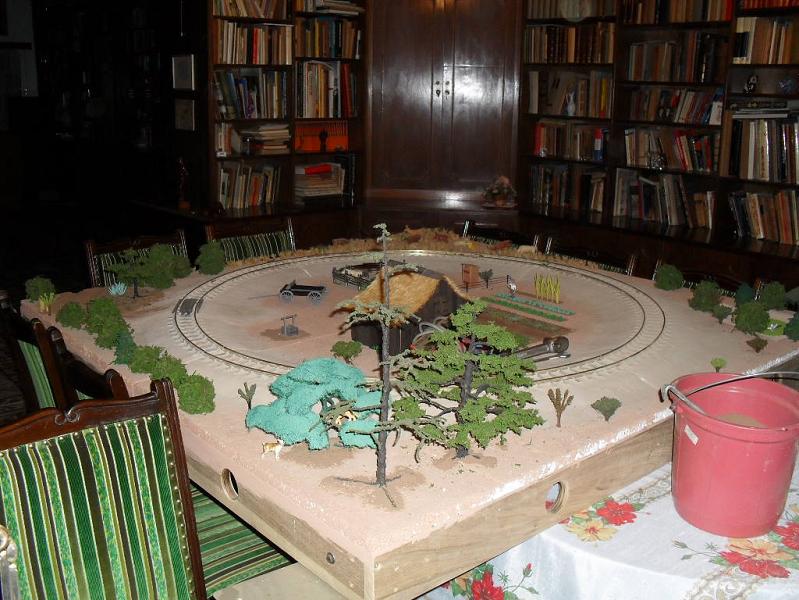
i made, what my wife called the perfect tree:
textXXXXXXXXXXXXXXXXX
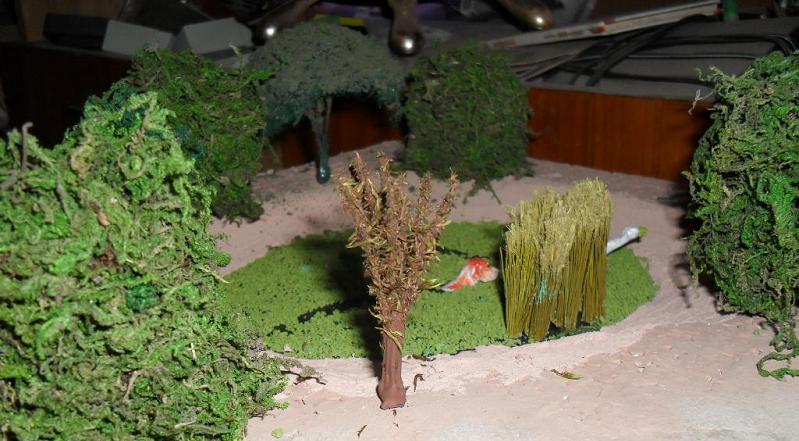
another tree nearing its completion. (far from perfect)
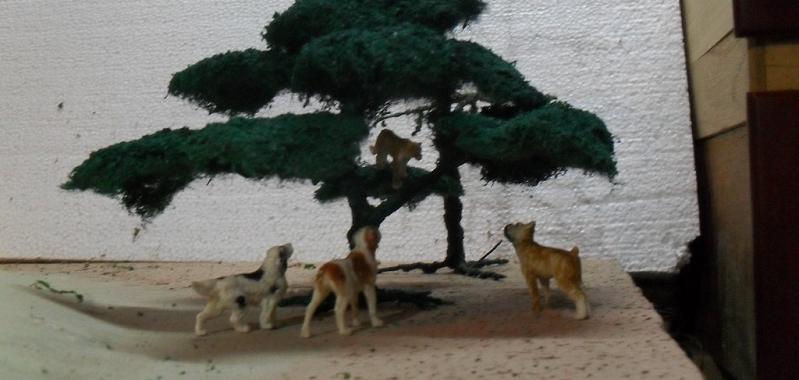
some strategic cuts (can't let go from cutting heads!) give the dogs a better angle of view.
textXXXXXXXXXXXXXXXXX
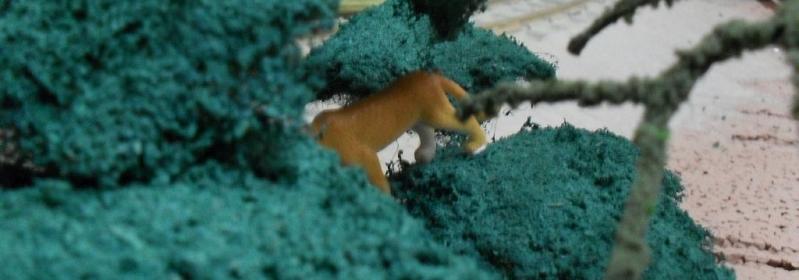
and they will need it! look, whats up in the tree. a mountain lion.
textXXXXXXXXXXXXXXXXX
but now everything is under control. the pack is just waiting for the farmer to dig out his muzzleloader from under the bed.
textXXXXXXXXXXXXXXXXX
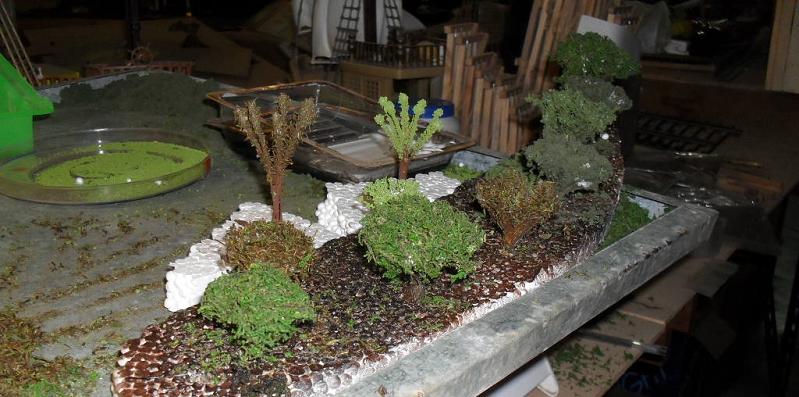
another tree finished. ingredients: about 2.50 $ worth of copper, paint, sawdust and sand (half on the tree, half on the tray), and shreddered moss (including some stress, concerning an abused coffeemill...) and about two days of modeling.
textXXXXXXXXXXXXXXXXX
the roadbed cracks up, when drying. a repaint will be necessary.
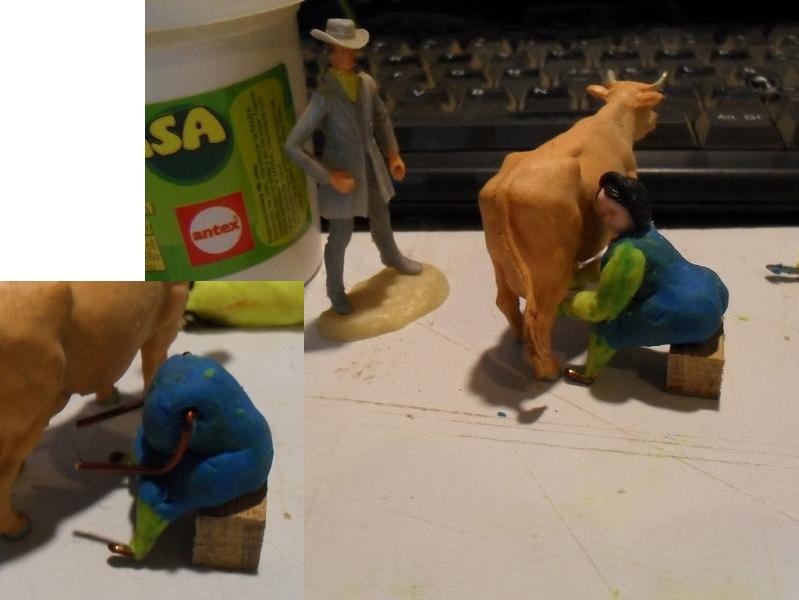
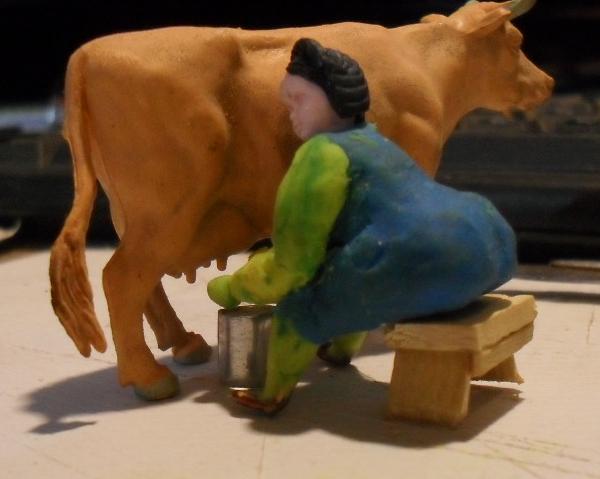
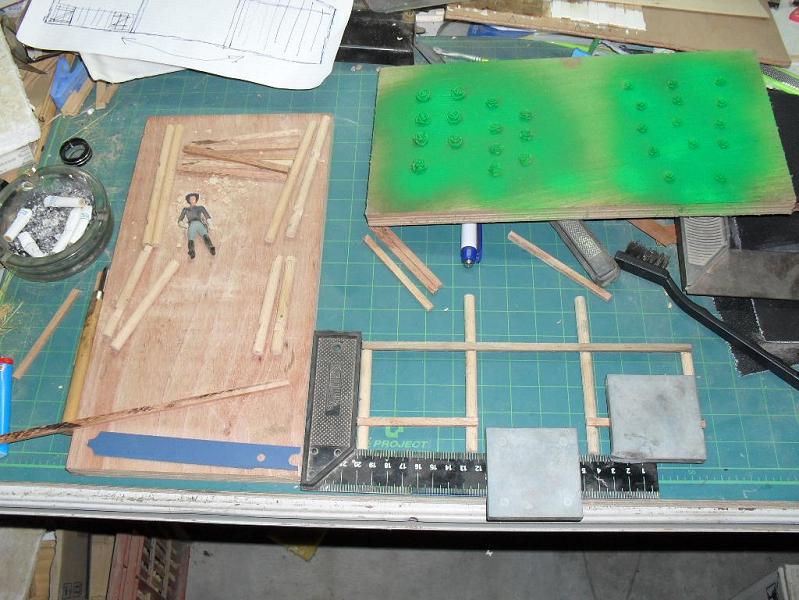
the farm i'm going to build inside the circle needs people.
i started wit the farmer's wife, milking a cow. she still needs a bit of paint on arms and legs)
textXXXXXXXXXXXXXXXXX
yes, she's got a well defined point of gravity. and yes, the beam looks a bit too solid. but i'm working on it.
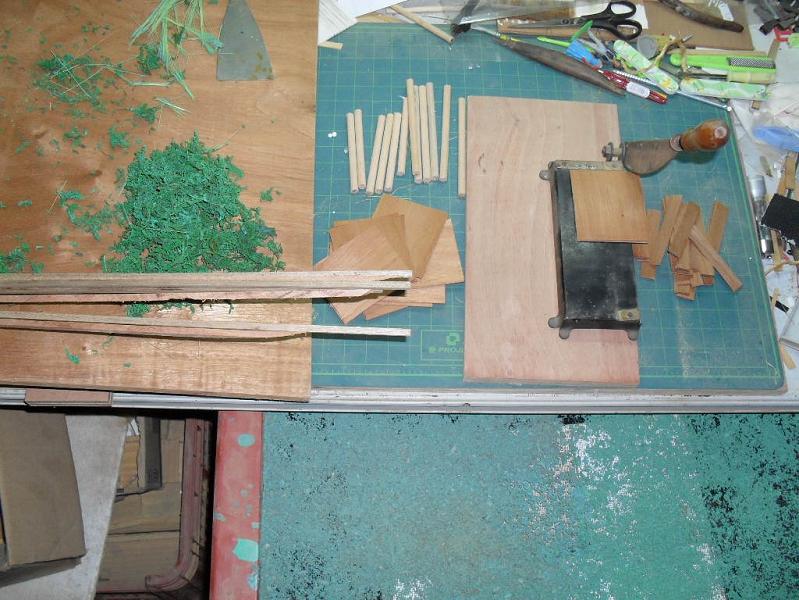
nothing interesting going on. just the necessary preparations.
beams 5 by 3 (mm!) and posts boards and battons for the stable painting reeds and grass from paintbrushes and hempstrings colouring foilage from sawdust colouring moss for twigs and brush all these things, northerners get from the hobbyshop.
textXXXXXXXXXXXXXXXXX
-----------------------------------------------
found some nice vegetables for the garden. that were buttons for (oldfashioned) woemen's blouses... cut them flat on the back and gave them a little spray.
i planted some vegetables. (blouse buttons and sawdust clumps)
textXXXXXXXXXXXXXXXXX
---------------------------------------
------------------------------------------
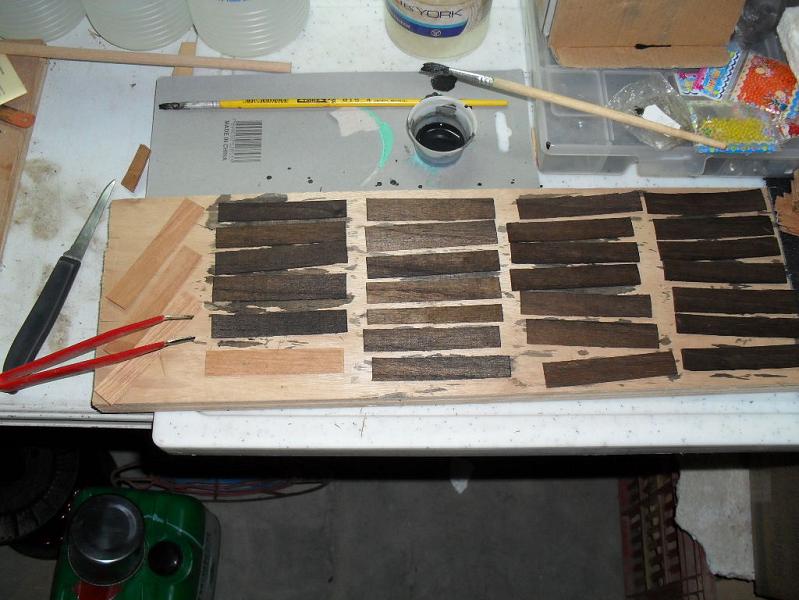
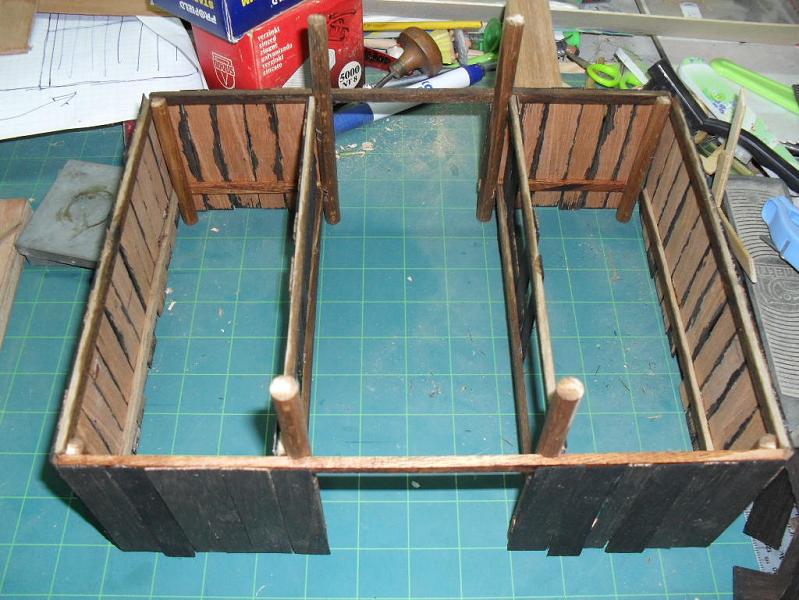
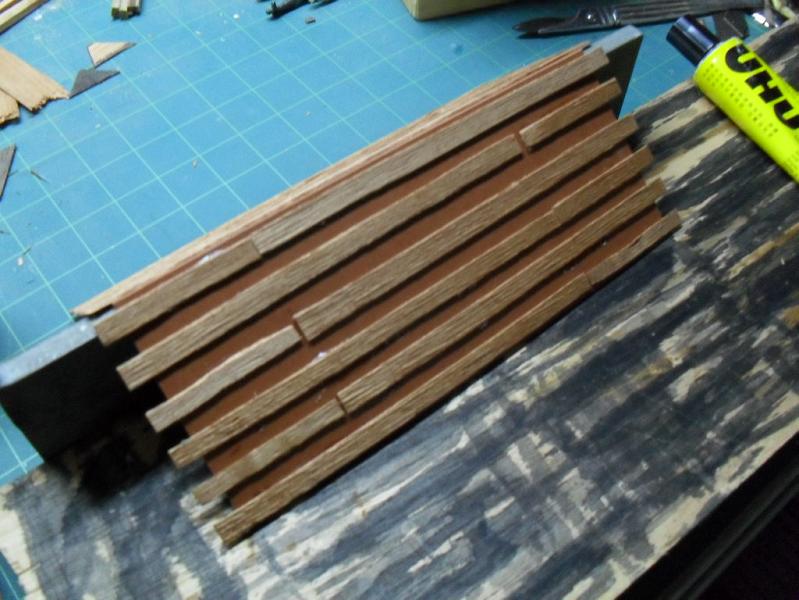
this far i did come: boards aged on inside (furniture polish) and kreosoted (liquid shoe wax and alcohol)
textXXXXXXXXXXXXXXXXX
after glueing the walls a test positioning. (seems, that i overdid the wharped boards)
textXXXXXXXXXXXXXXXXX
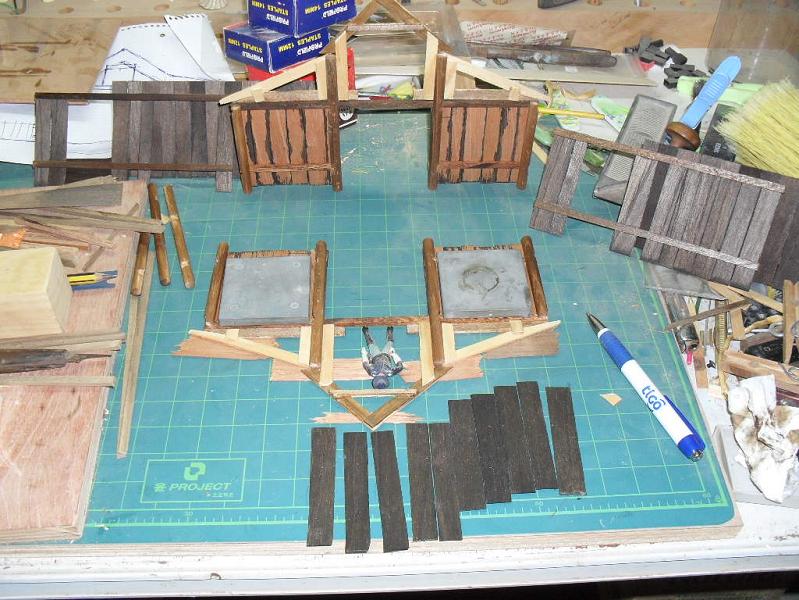
building up the support for the gables.
textXXXXXXXXXXXXXXXXX
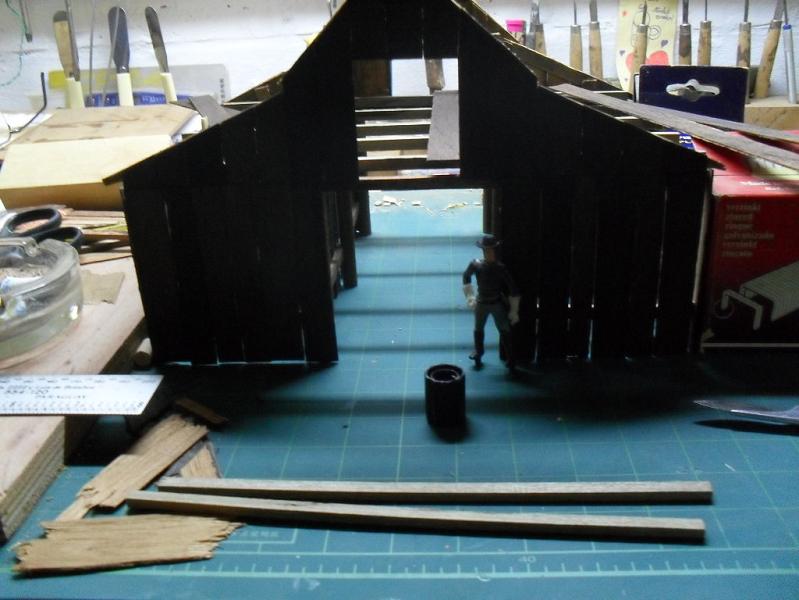
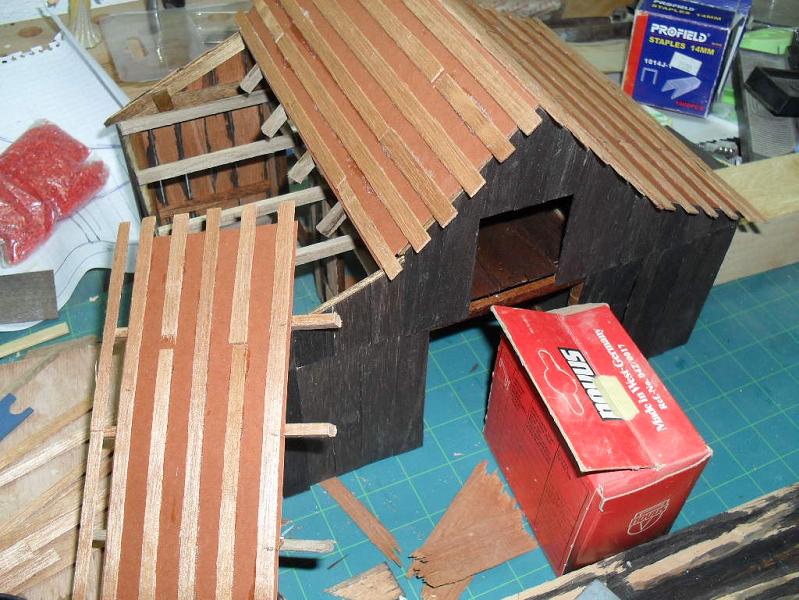
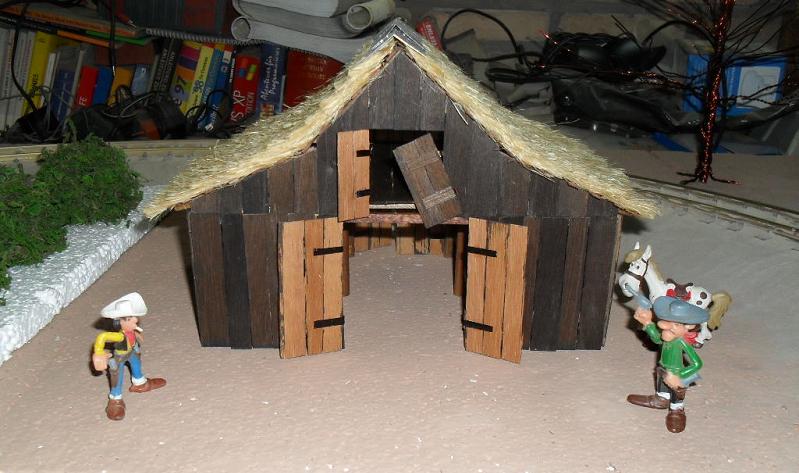
finally putting the barn together.
textXXXXXXXXXXXXXXXXX
you might notice, that here i use the famous coffee stirrers only where they are out of sight. since i once calculated, that a coffee stirrer makes a board of 2" scale-thickness in 1:32, i tend to use veneer at a scale-thickness of 1 1/4".
textXXXXXXXXXXXXXXXXX
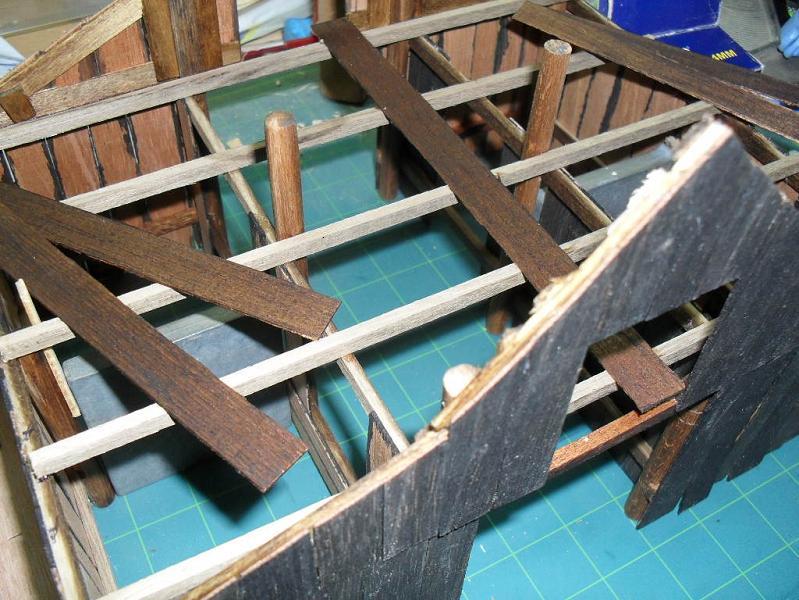
i was cheating. instead of an honest framework, i put some thick paper for the roofstructure.
textXXXXXXXXXXXXXXXXX
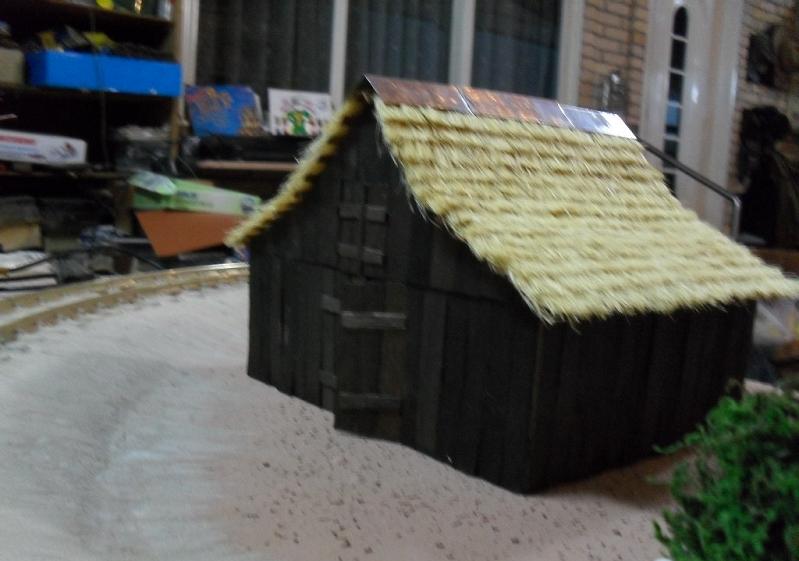
roofing the barn. pieces of hemp-string (used for hayballs) dipped in white glue.
textXXXXXXXXXXXXXXXXX
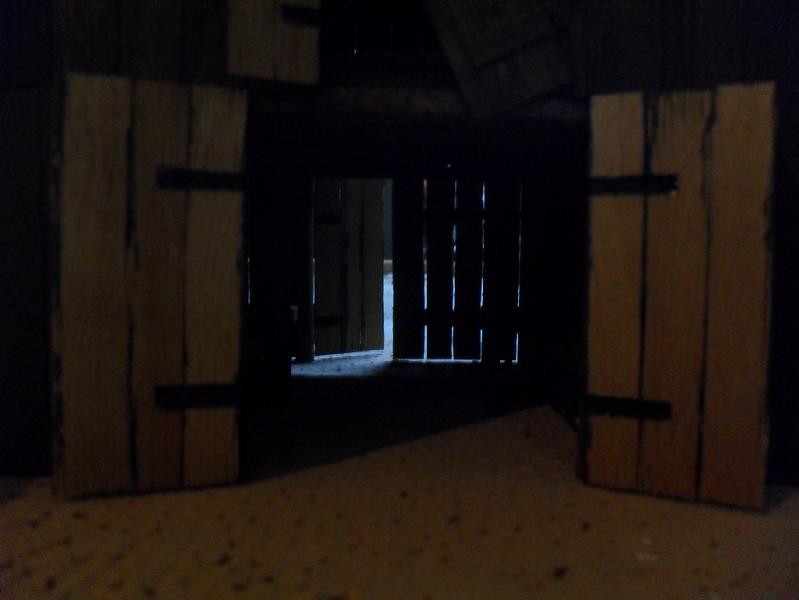
to stress a frequently asked question: is it done yet? - yes, it is. the barn at least.
textXXXXXXXXXXXXXXXXX
oh, before i forget... we got vermin at the farm! the pidgeons are eating the millet. (made of pieces of wire with coconut raspings glued to it) i think, i have to make a boy with a slingshot.
textXXXXXXXXXXXXXXXXX
-----------------------------
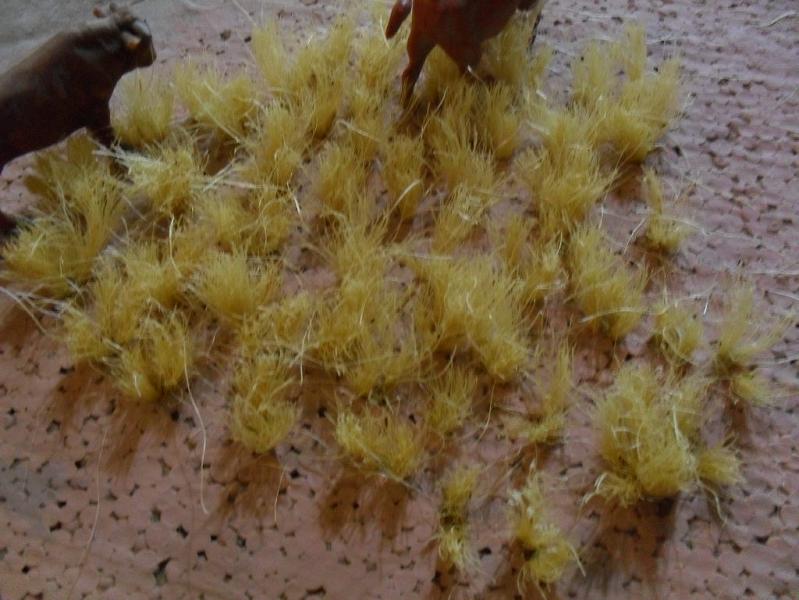
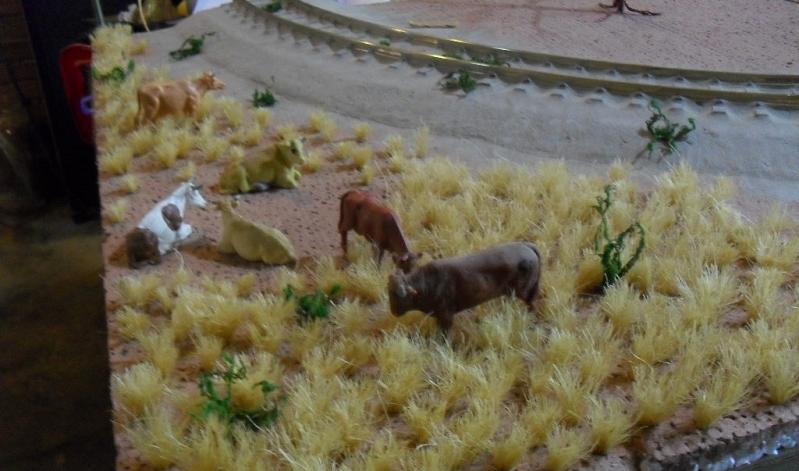
planting grass now.
textXXXXXXXXXXXXXXXXX
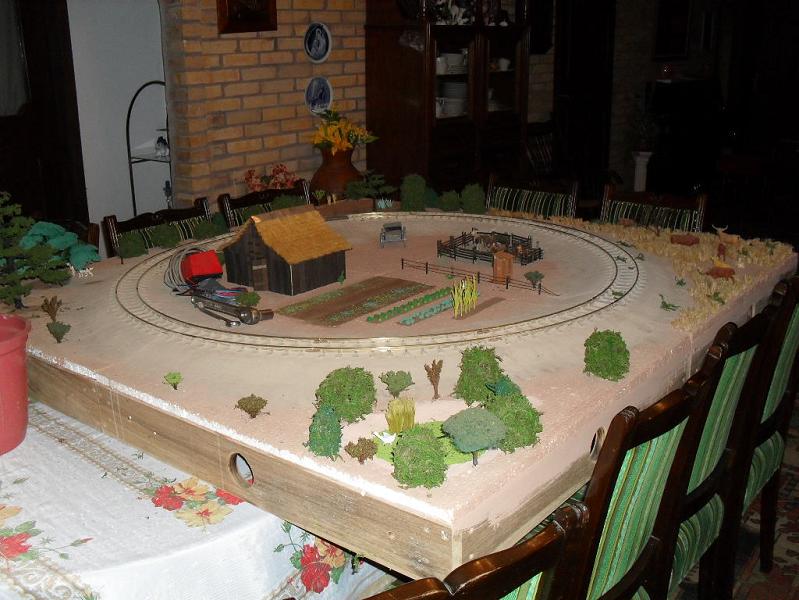
the first 1/8 of the modular layout is finished. (some more detailing, if time permits)
textXXXXXXXXXXXXXXXXX
---------------------------------
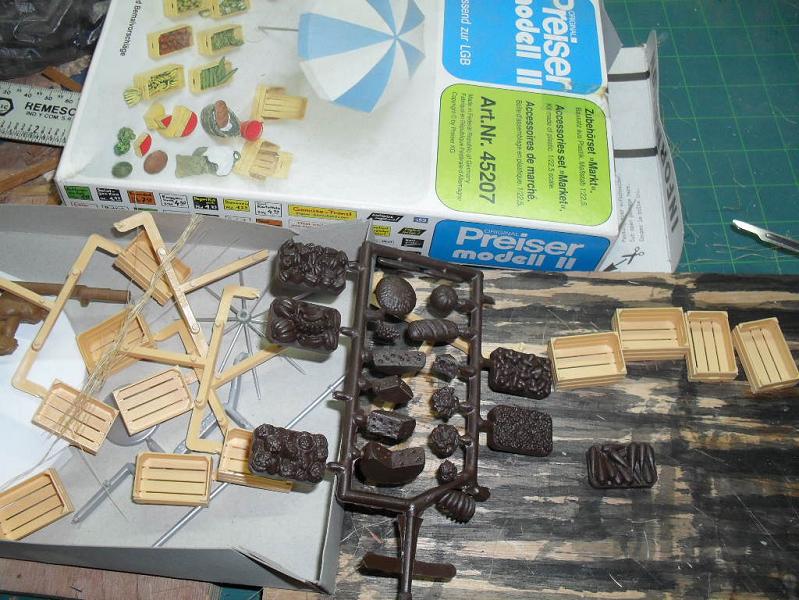
i found something long forgotten. a preiser box with vegetables, i bought in '83 during a stay in germany. the pricetag says 23.50 german marks (11.75 euros). i doubt, that i could get it for that now. another shortcut of half a day.
textXXXXXXXXXXXXXXXXX
-----------------------------------
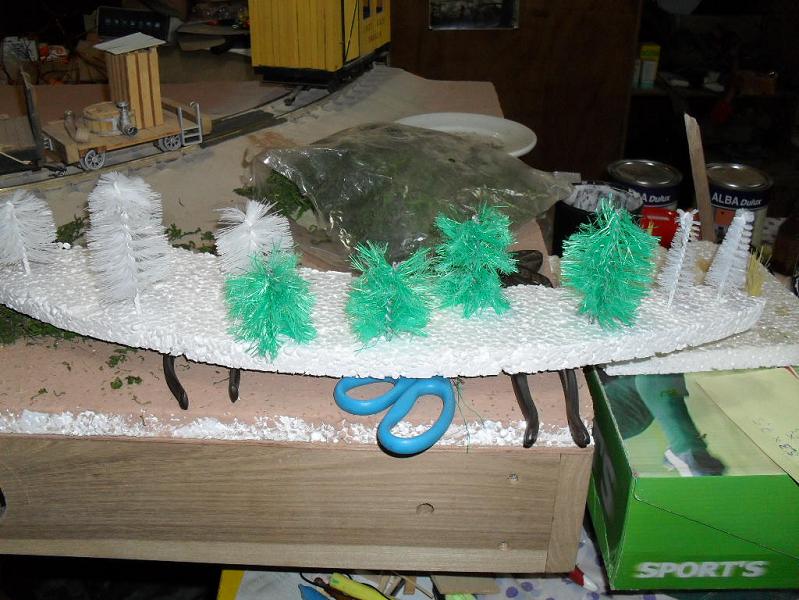
found something nice and cheap today. brushes for babybottles. about half a dollar for one big and one tiny brush.(the white ones) and a very rustic toilet brush. (the green) i cut the longer ones to length and planted them in foam.
textXXXXXXXXXXXXXXXXX
after spraying them in brown they looked like the loved bottlebrushes (commercial trees) we all remember from H0
textXXXXXXXXXXXXXXXXX
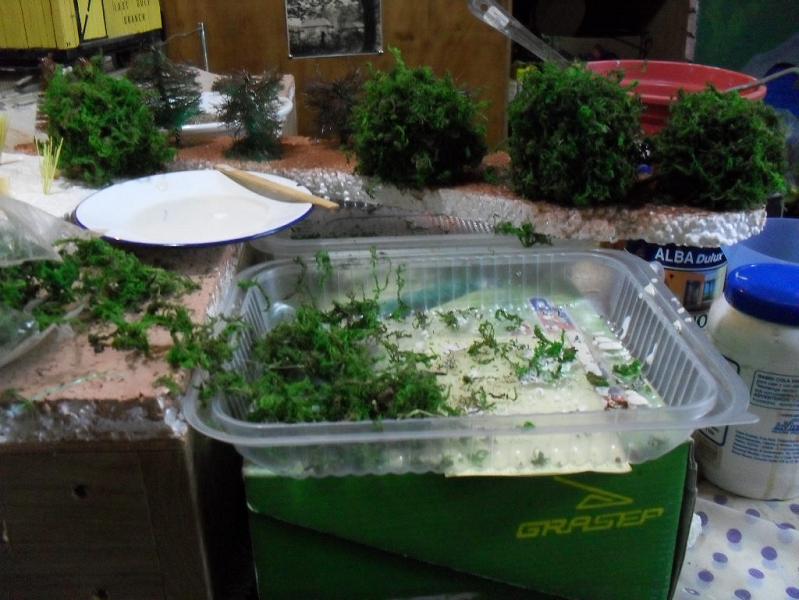
then i bathed them in white glue and stuck something between the bristles, what i bought as "moss". (never seen such moss before) but anyhow, i got something, that resembles the thorny bushes we got everywhere in our pastures.
textXXXXXXXXXXXXXXXXX
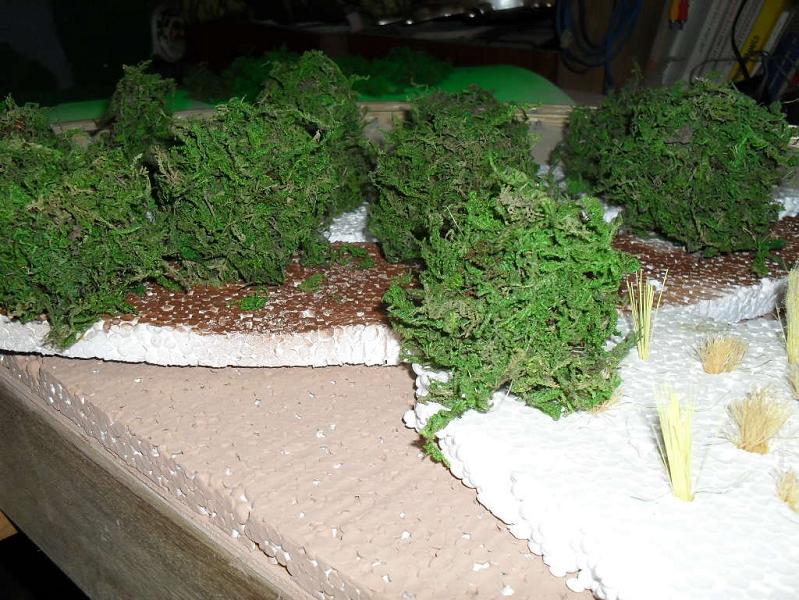
doing some of the rare looking brushes of our zone:
textXXXXXXXXXXXXXXXXX
some more bushes. made from sisal string (same tecnic as the gras, only longer) foilage fixed with white glue. the different foilage consists of two different crushed mosses, painted sawdust and crushed origami blocks. (i think, my wife will need a new coffee grinder - but she doesn't know yet)
textXXXXXXXXXXXXXXXXX
---------------------------------------
planted some bushes.
textXXXXXXXXXXXXXXXXX
-------------------------------------------
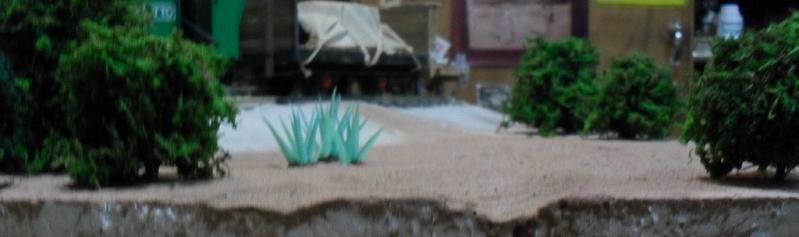
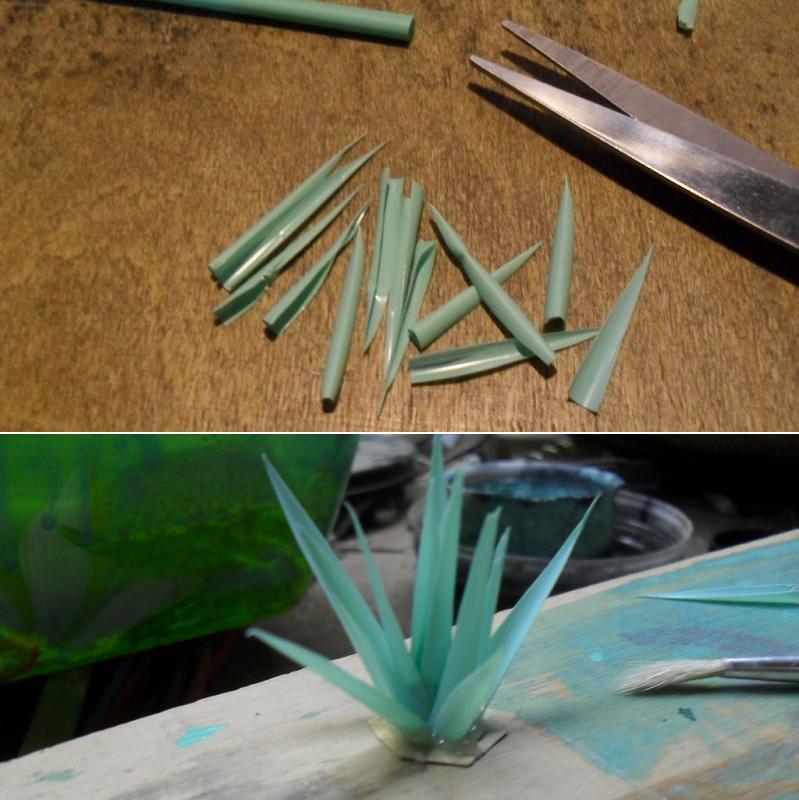
forgot something. agave plants from drinking straws.
textXXXXXXXXXXXXXXXXX
----------------------------------------------
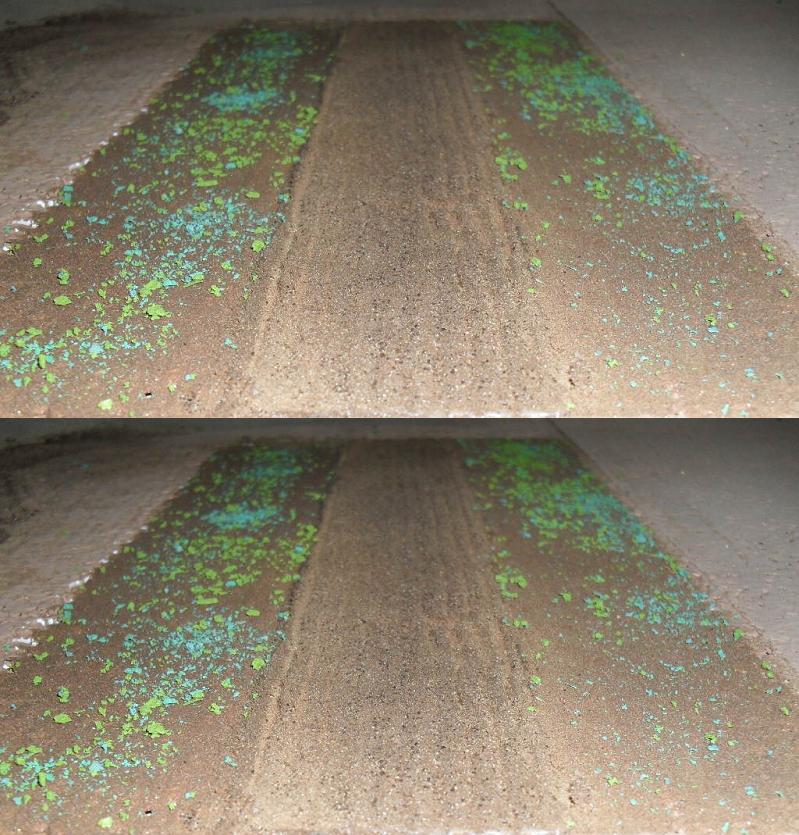
a partly plowed field (looks (not?) good enough from three feet off)
textXXXXXXXXXXXXXXXXX
--------------------------------------
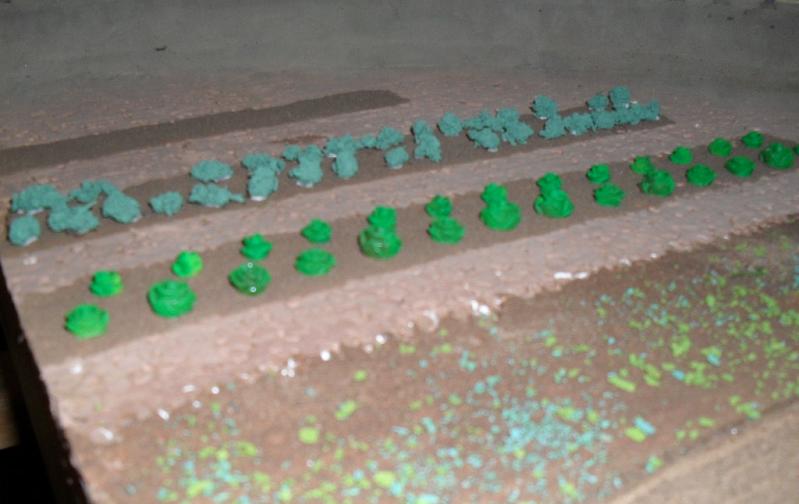
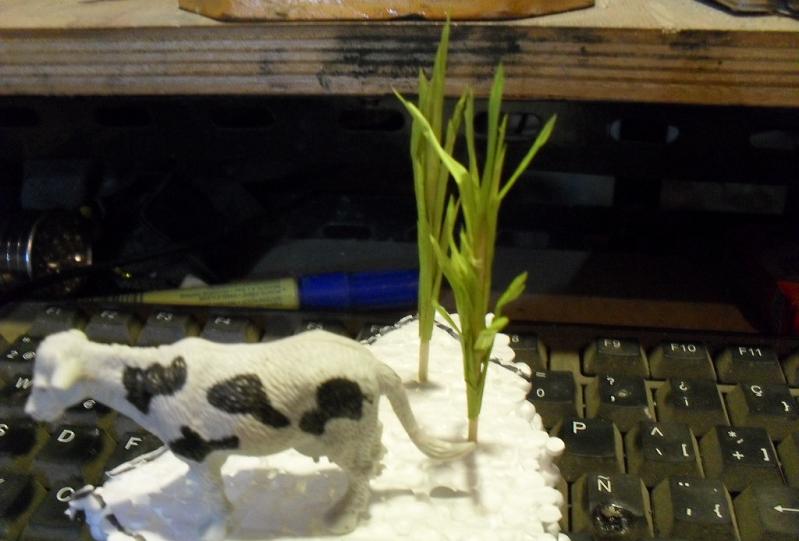
i planned to plant some corn. the idea was to make 30 to 50 plants for a decent row or two.
these took me over five minutes each and i am not very content how they look. (not even the cow seems interested)
textXXXXXXXXXXXXXXXXX
----------------------------------
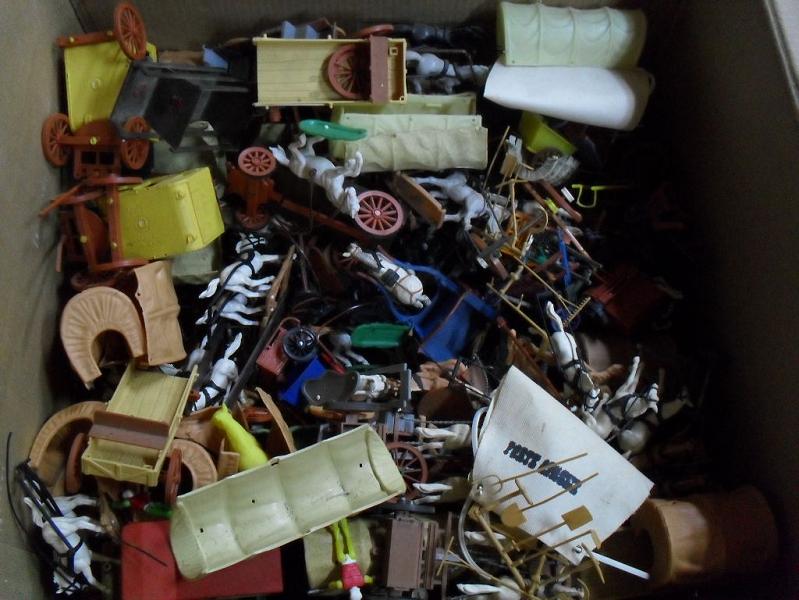
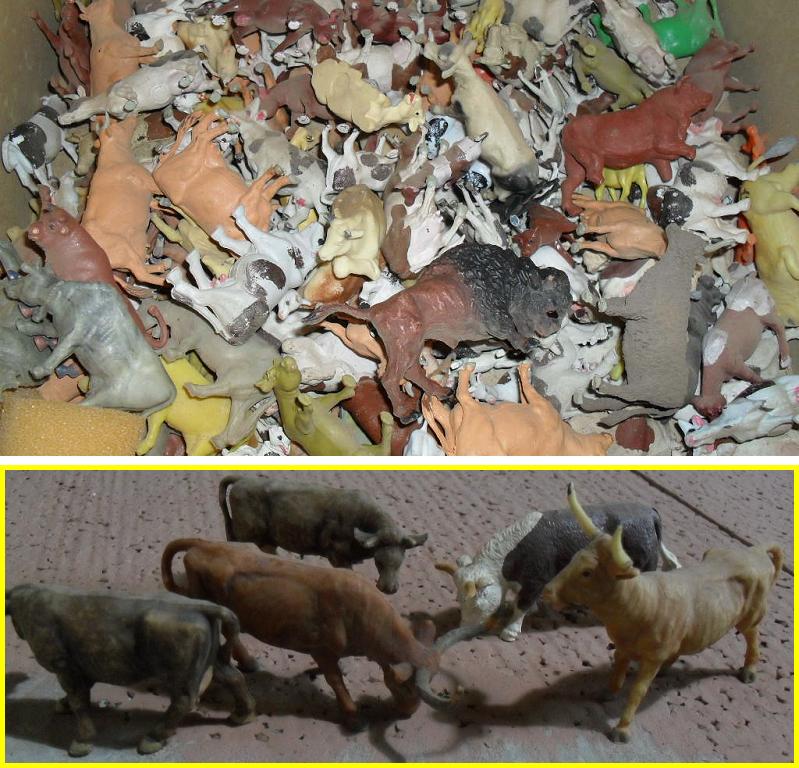
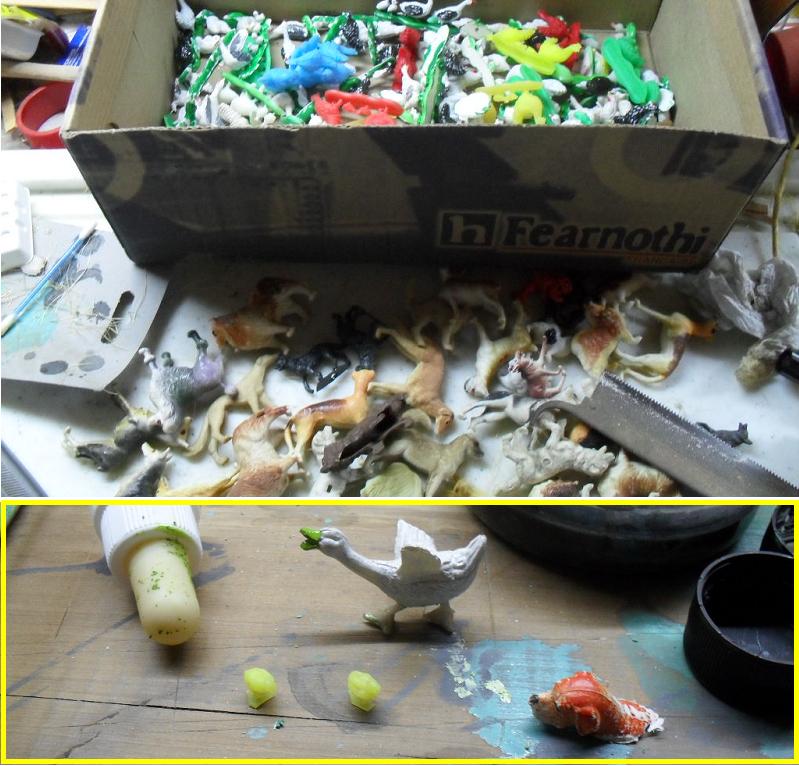
i went on a search and rescue mission in the moving boxes from five years ago. trying to find and prepare the figures and things i wanted to use.
textXXXXXXXXXXXXXXXXX
-------------------------------------
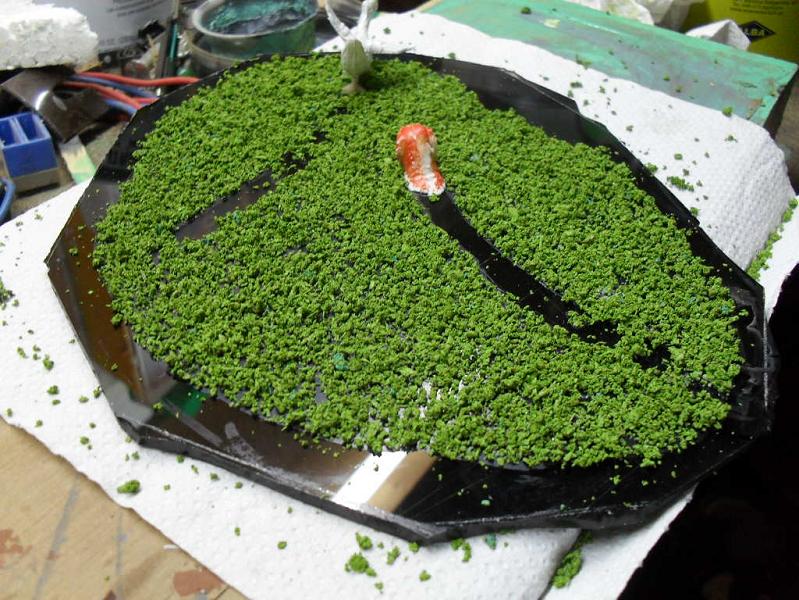
first step of the pond.
textXXXXXXXXXXXXXXXXX
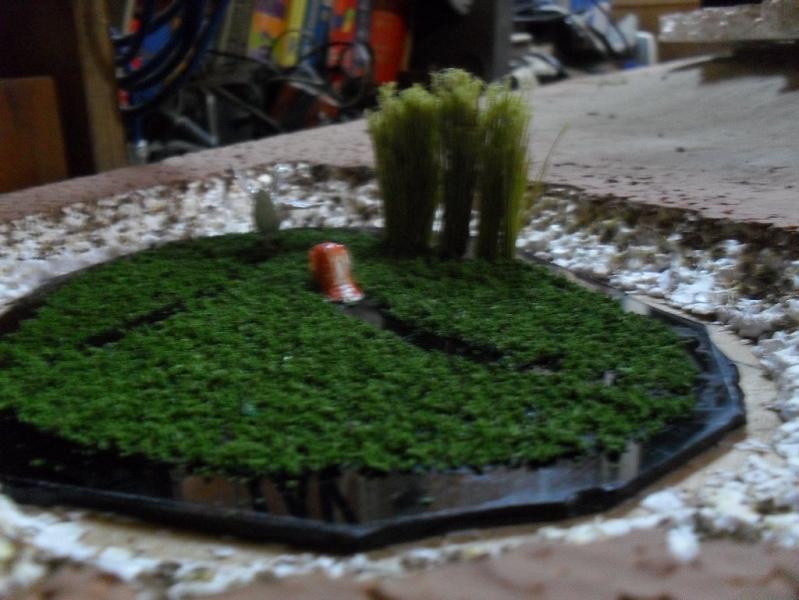
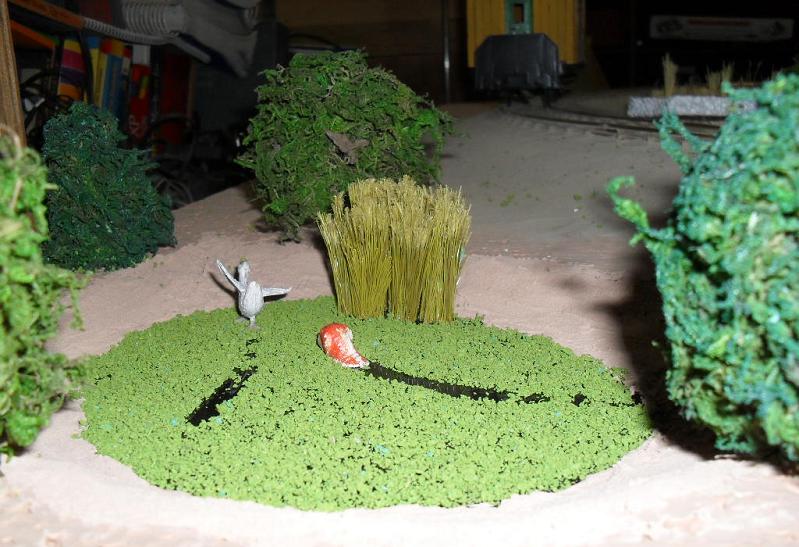
the reed is planted. just a small patch, because i am afraid to overload the scene of this small pond.
textXXXXXXXXXXXXXXXXX
-----------------------------------
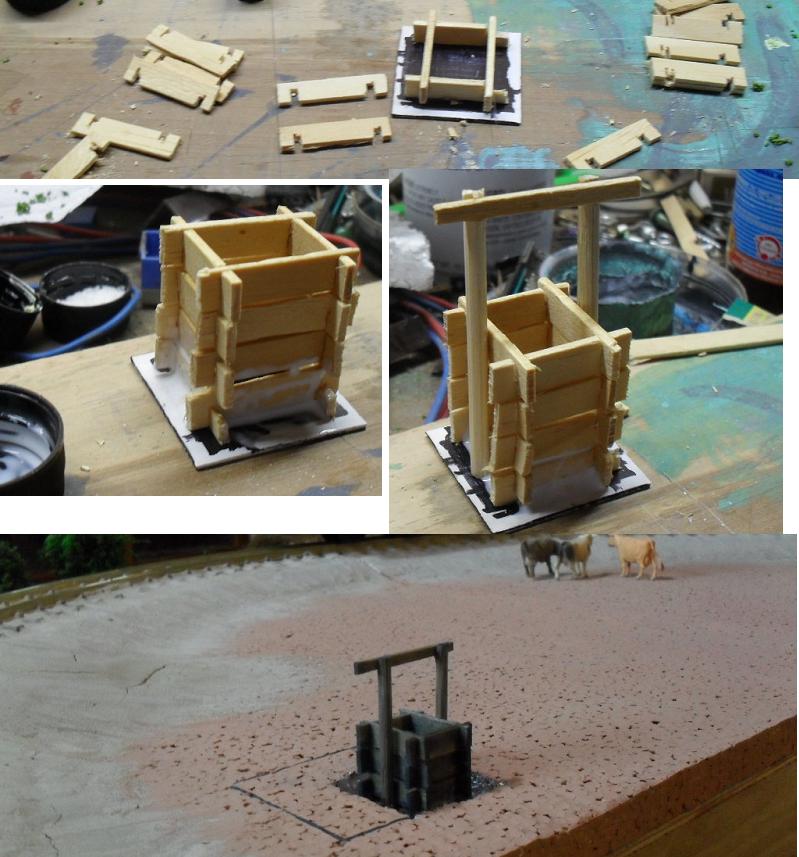
dug a well
textXXXXXXXXXXXXXXXXX
-------------------------------------
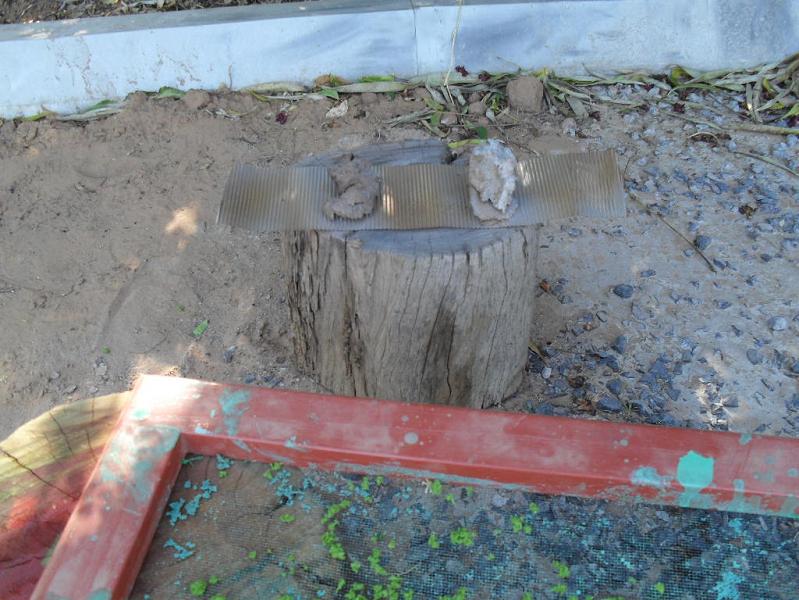
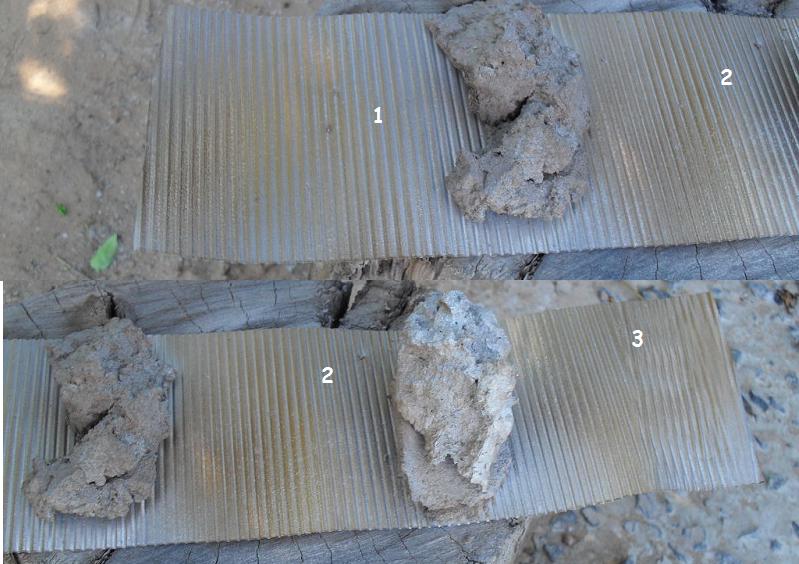
made a quick trial for weathering a corrugated roof. we got no tan spray here
(and i'm waaay too lazy to search for the compressor and air-brush kit.)
1) is grey ground - brown - gold
2)grey ground - silver - brown - gold
3) silver ground - brown - gold
the colour combinations seem good. but it looks wrong. after a look at the neighbour's roof, i know why. the high parts of the corrugated sheet have to be light, and the lower parts have to be darker. when there is less wind, i'll make another trial with brown ground and grey or silver over it.
textXXXXXXXXXXXXXXXXX
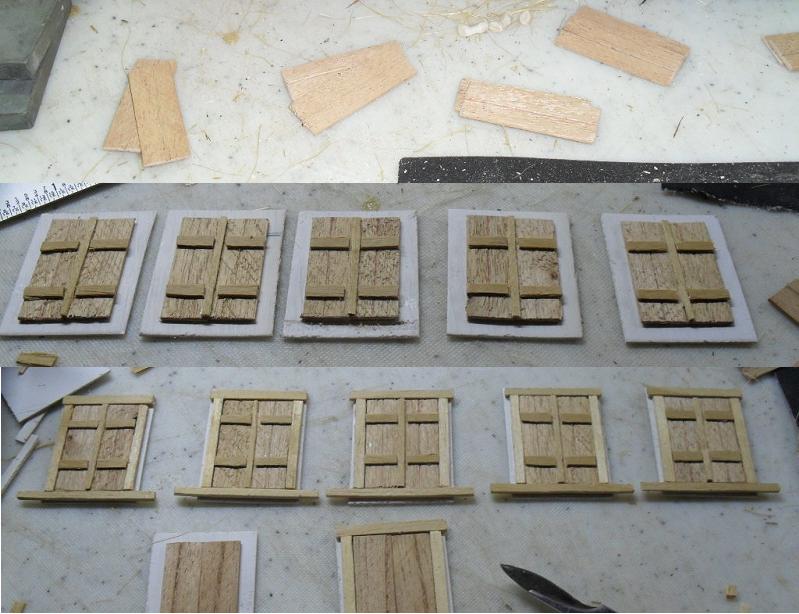
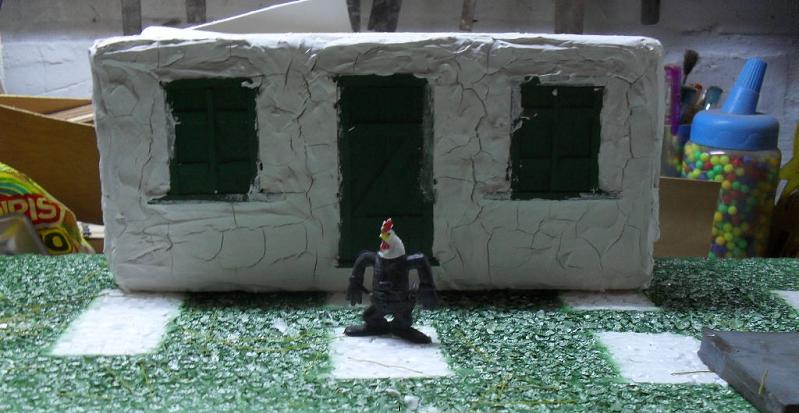
i started on the farmhouse. as time was pressing i made it from a icecream-foambox. glueing on some doors and (closed) windows, then smearing crackfiller around them.
the windows are done. save the painting, that waited for less wind.
textXXXXXXXXXXXXXXXXX
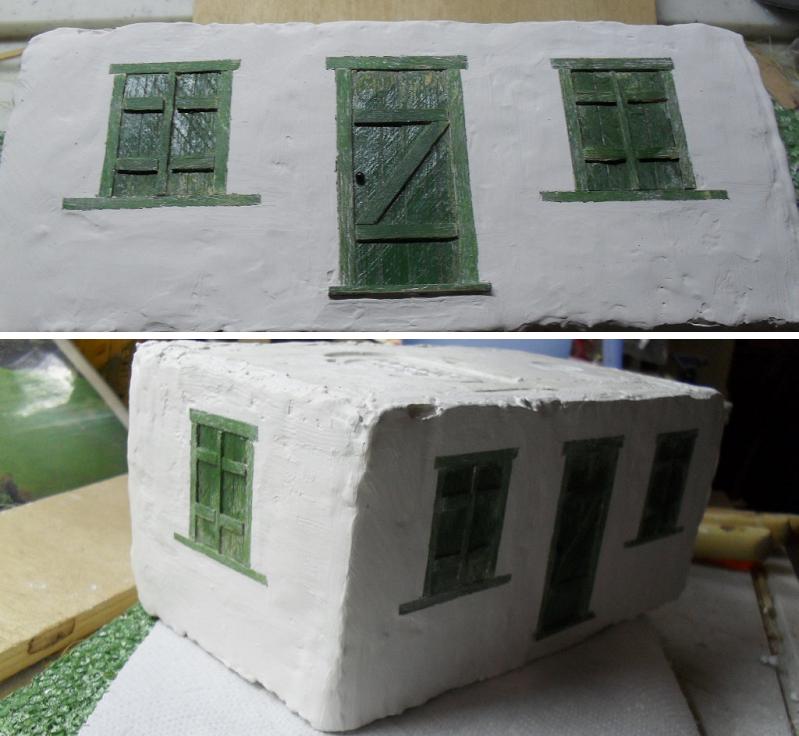
i glued the doors together. the space around door an windows was filled with crackfiller.
textXXXXXXXXXXXXXXXXX
cracks?!? who says, my buildings have cracks? what you see were no cracks, that were sub-plaster strucktural random ventilation slots!
textXXXXXXXXXXXXXXXXX
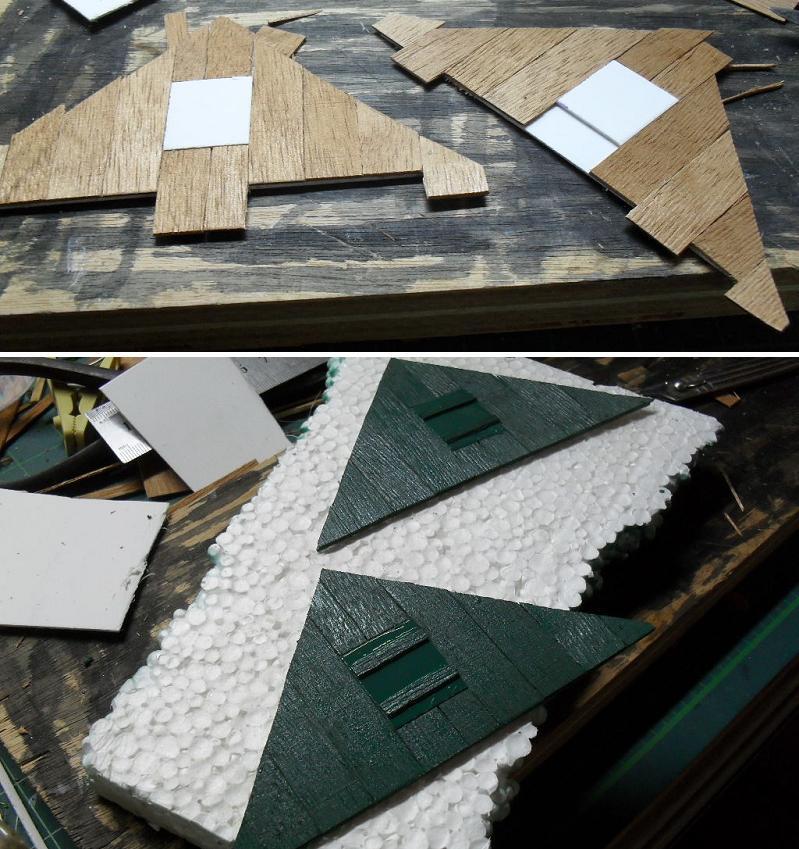
then started roofing. the gables were done, the tiles (stripes) were cut.
textXXXXXXXXXXXXXXXXX
i was not content. not even a little bit. back to thinking, how i can make a tyled roof.
textXXXXXXXXXXXXXXXXX
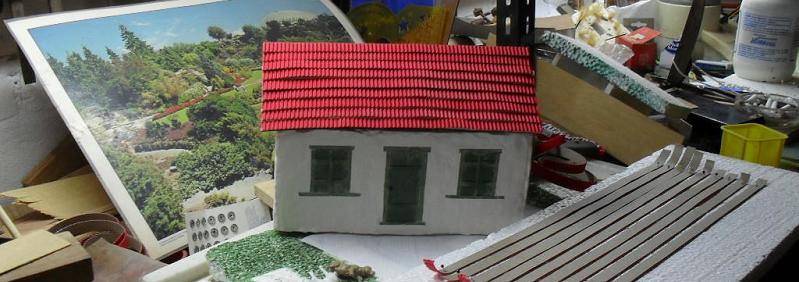
the house got finished. five minutes, before i had to leave house for the show. although i'm content to have captured the essence of the typical adobe-made pioneerhouses of our area, i must confess, that it is the sloppiest model i had made in years.
textXXXXXXXXXXXXXXXXX
-----------------------------
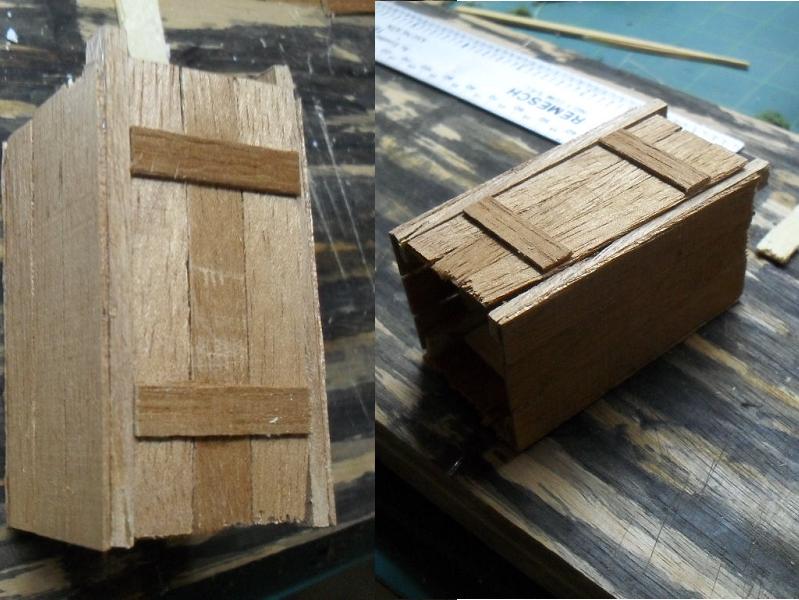
then made an outhouse:
textXXXXXXXXXXXXXXXXX
----------------------------
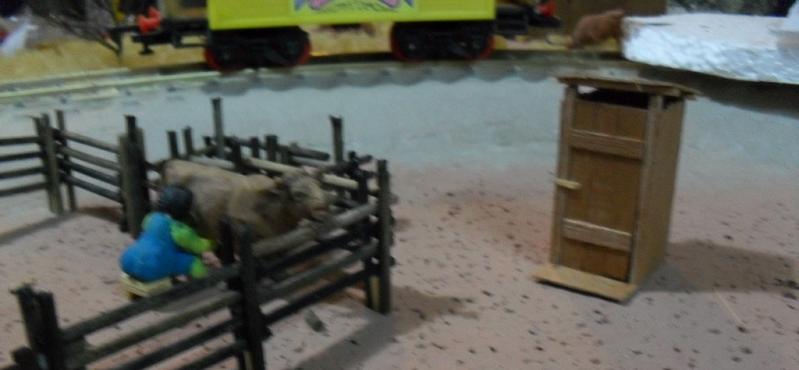
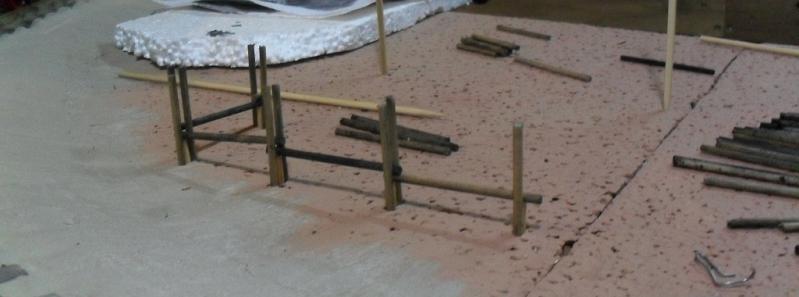
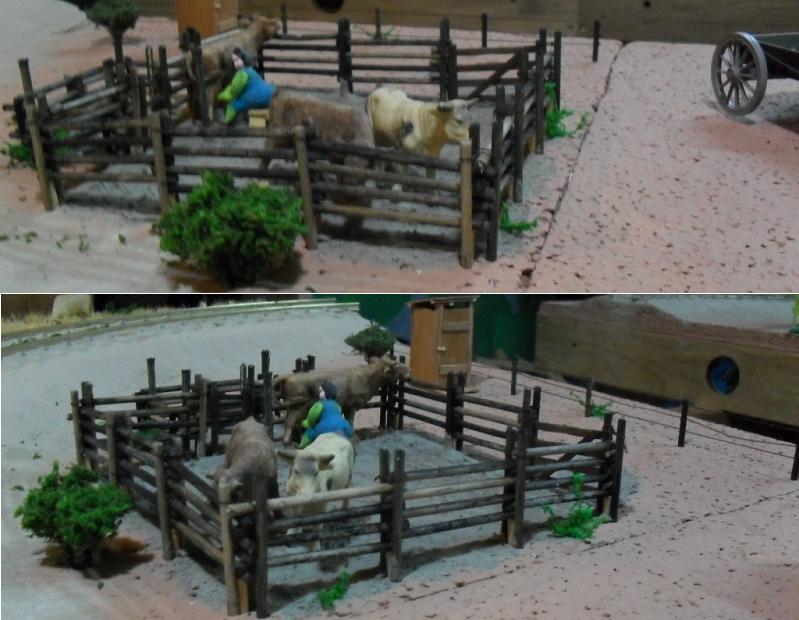
then i made a small corral (ko corral, not OK Corral)
textXXXXXXXXXXXXXXXXX
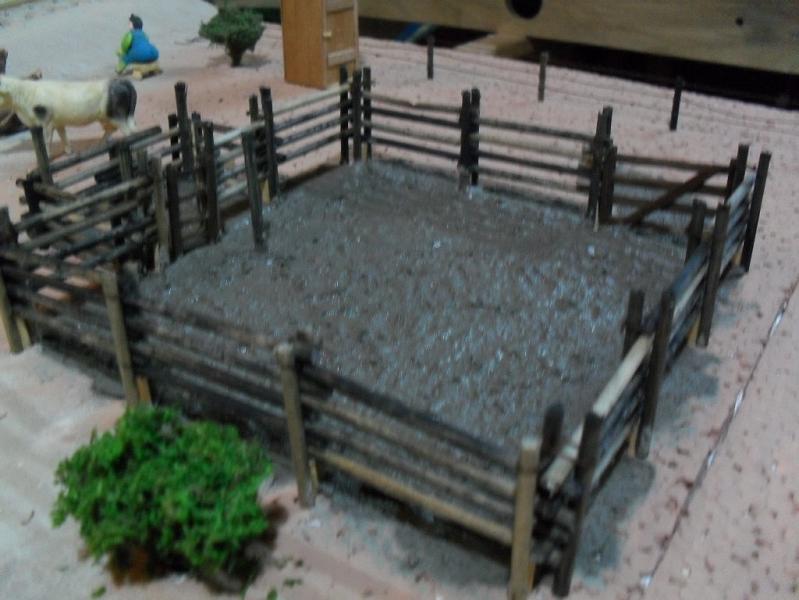
the corral is so far done. some cowshit and two gates will complete it. with that much mud, maybe i should outfit the dairy girl with rubber boots?
textXXXXXXXXXXXXXXXXX
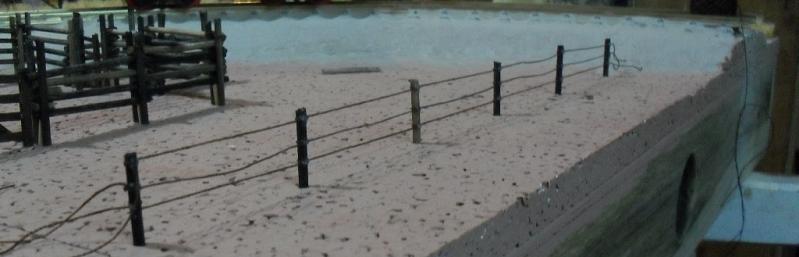
i had to do something with my hands. a no-brainer. out came a length of barbed wire fence. you don't see the barbs? neither do i. in this scale i should make them a third of a mm long (about a hundreth of an inch) and i most definitely will not turn into a barb-counter! the fence ends, where the RR workers cut it.
those are the hardships in a squatter's life.
textXXXXXXXXXXXXXXXXX
------------------------------
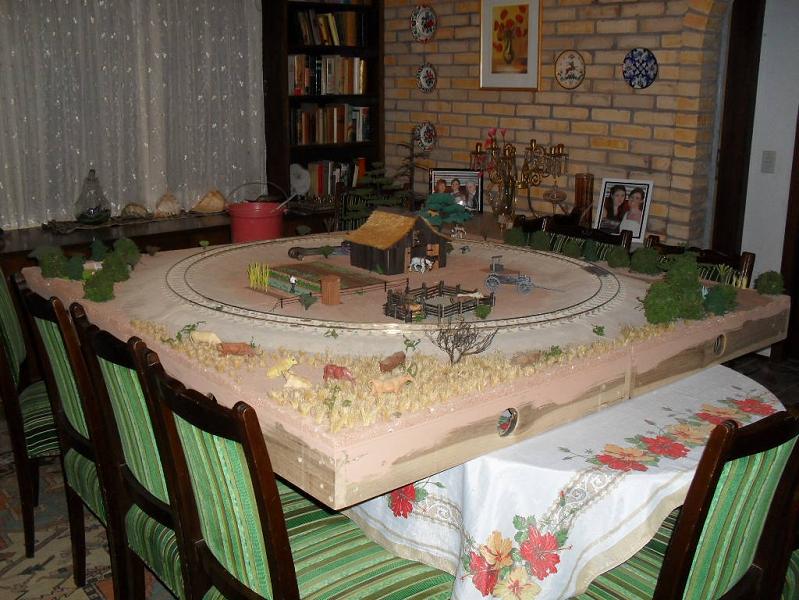
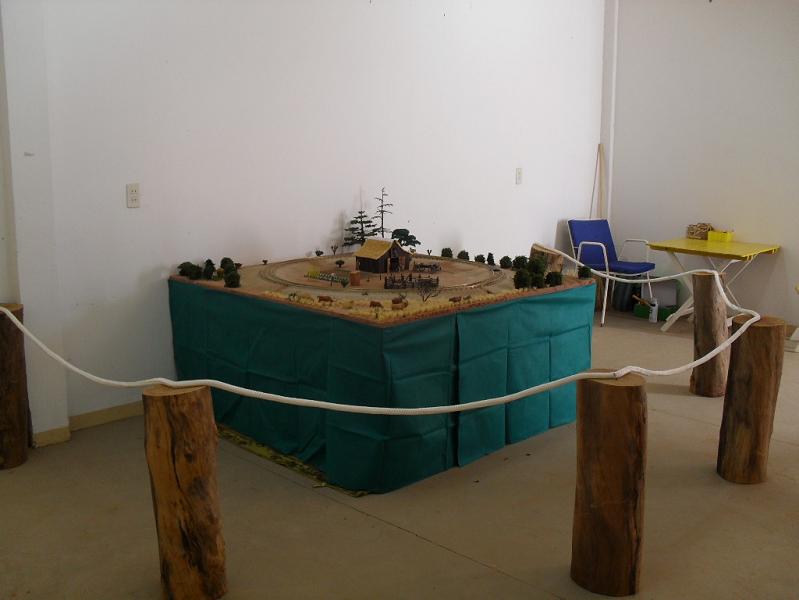
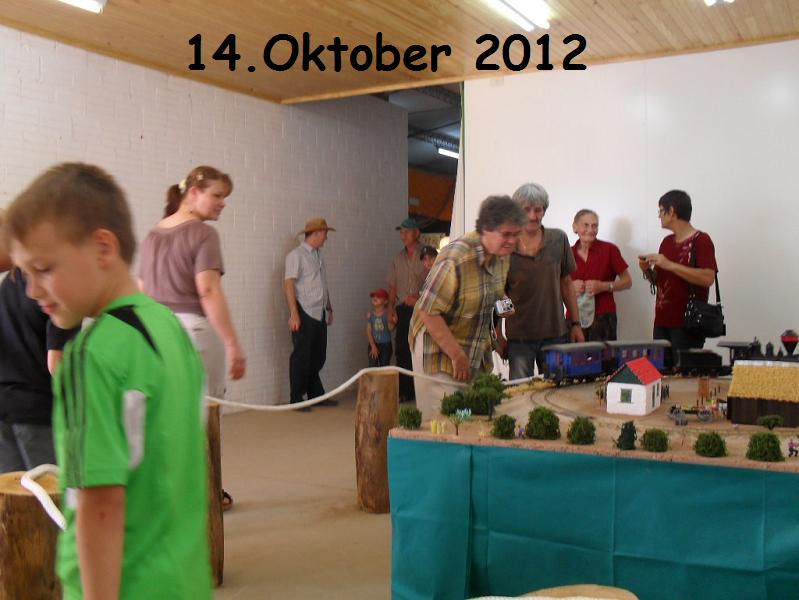
last pics before the show:
textXXXXXXXXXXXXXXXXX
epilogue:
got everything home.
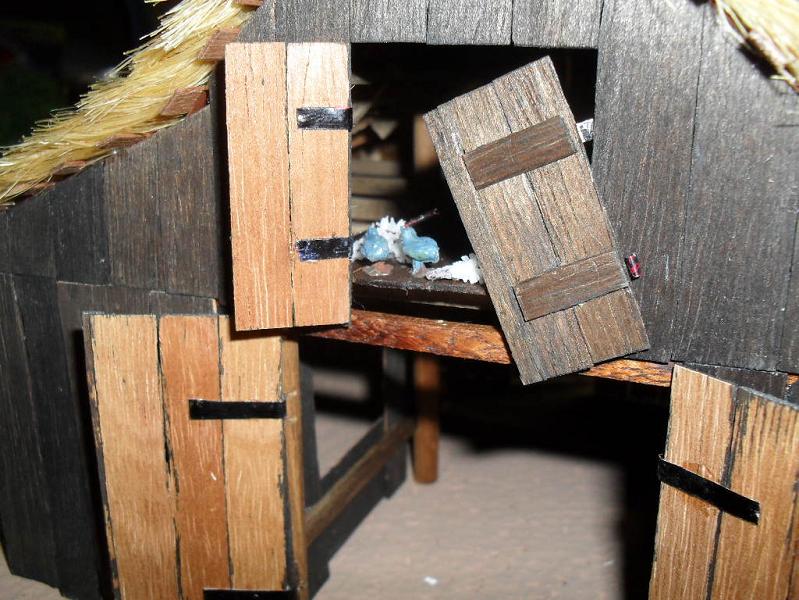
nothing stolen, just one hinge of a barndoor broken on transport home. (on an open pickup driving in second idling, but with winds above 30mph.)
oh, i forgot! there was some theft. during last night.
the millet in the attic of the stable, that i made from wire, glue and coconut rasps was eaten clean by ants! swarming all over the layout this morning, looking for more goodies.
in the following video scroll to about half of it. there starts the part with this modular layout.